
How to Set Up Advanced Order Export for Woocommerce: Beginner’s Guide
Table of Contents
Advanced Order Export for Woocommerce is a plugin for e-commerce websites. It takes advantage of WordPress express environment and makes it easy to configure and export orders on the fly. It enables users to configure all settings in each template and create its own schedule (view details in “pro version” article). Also, it gives the facility to customize specific fields using PHP.
Orders can be exported in different formats (for example, CSV, XLS or HTML), as well as to different applications like Zapier.
So, what is the easiest way to set up Advanced Order Export for Woocommerce?
How to install Advanced Order Export for Woocommerce
First, you need to open the
First, you need to open the “Plugins” tab and click “Add new”.

You have to write “Advanced Order Export for Woocommerce” in the search panel.

Click “Install now” and wait a few seconds.
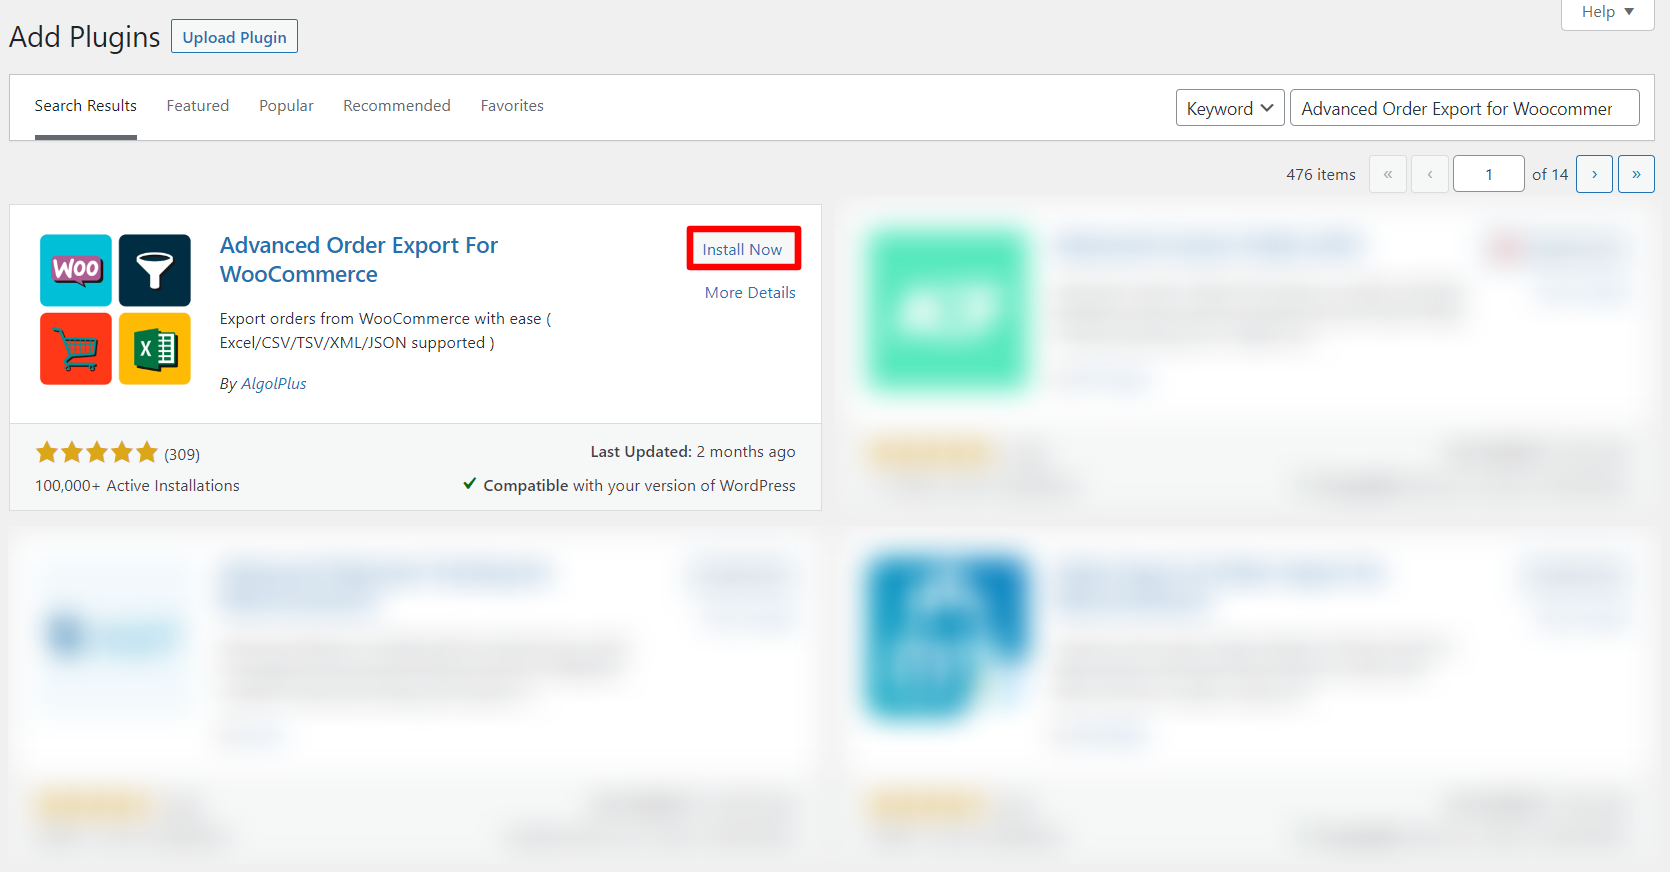
Then activate it.
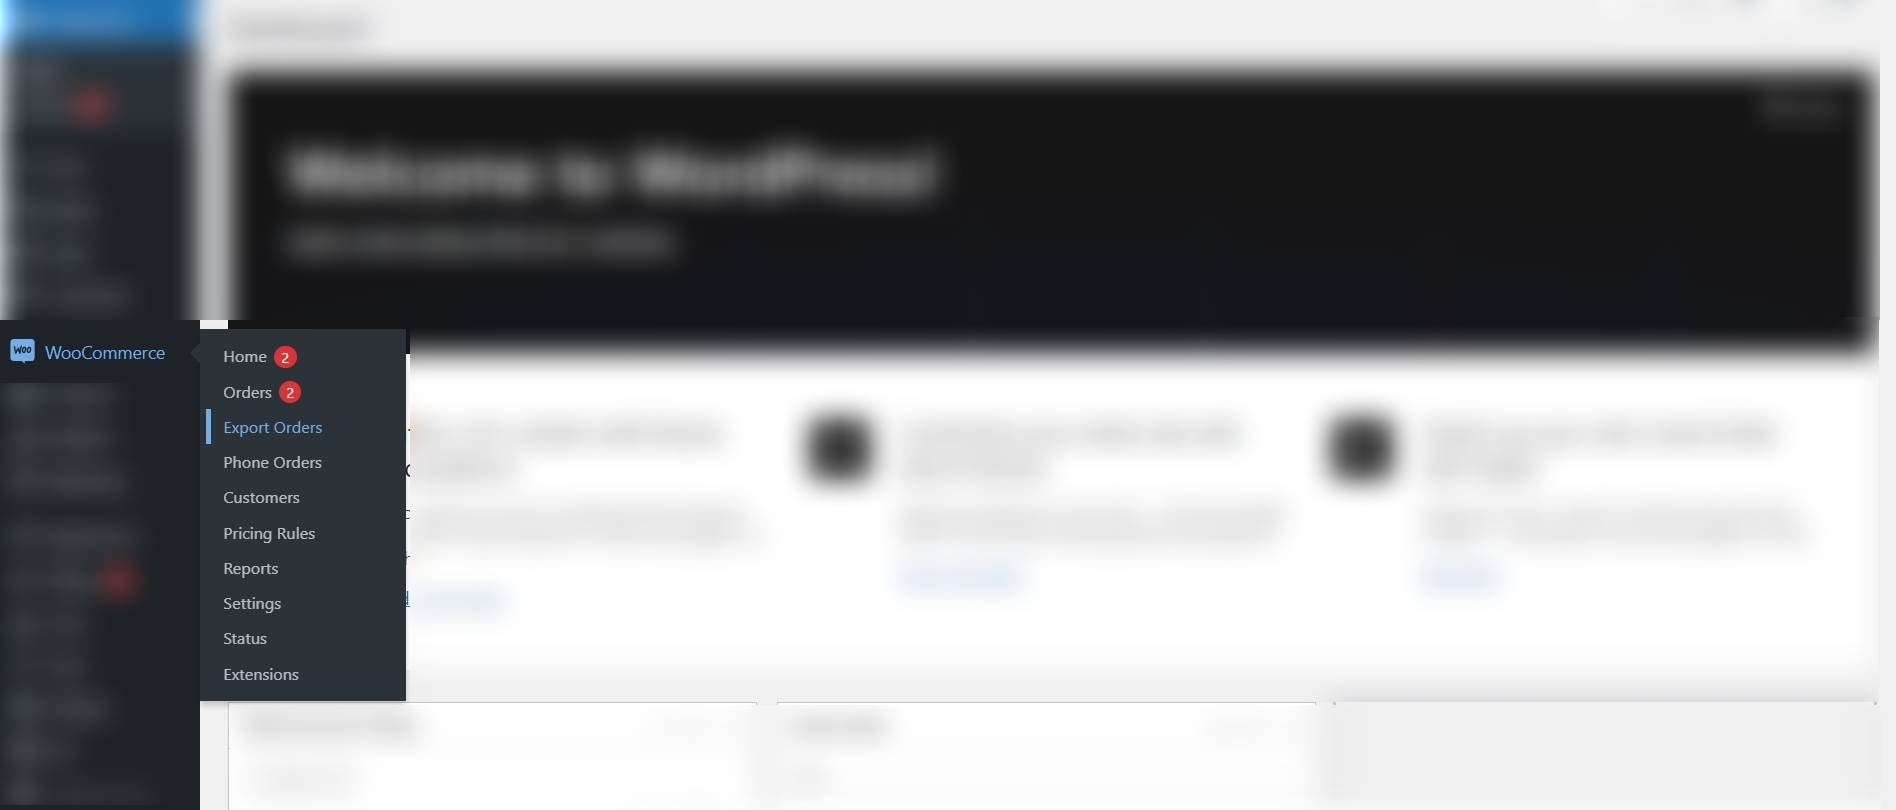
You can find the plugin in the “Woocommerce” tab.
How to set up Advanced Order Export for Woocommerce
Some parameters in the plugin are set by default. Orders are filtered by the date they were created, the export file name is “orders-%y-%m-%d-%h-%i-%s”, orders are sorted by id in descending order, and all fields are in the export fields.
We will configure the most requested settings and create three different export files: a regular file with multiple orders, summary report by products, and summary report by customers.
First situation: regular file with multiple orders.
First, let’s set the order date range. For this you must click on “Date range” and select the day, month and year from the pop-up calendar.

Then change “Export filename“. To make it clear, orders for which period will be exported, let’s write the following code:
“orders-{from_date}-to-{to_date}”

Select format of export file. In our example, it will be a PDF. Set up settings for it. Click again on PDF and choose:
Page number – right align
Page header text – First example
Fit table to page width – Yes
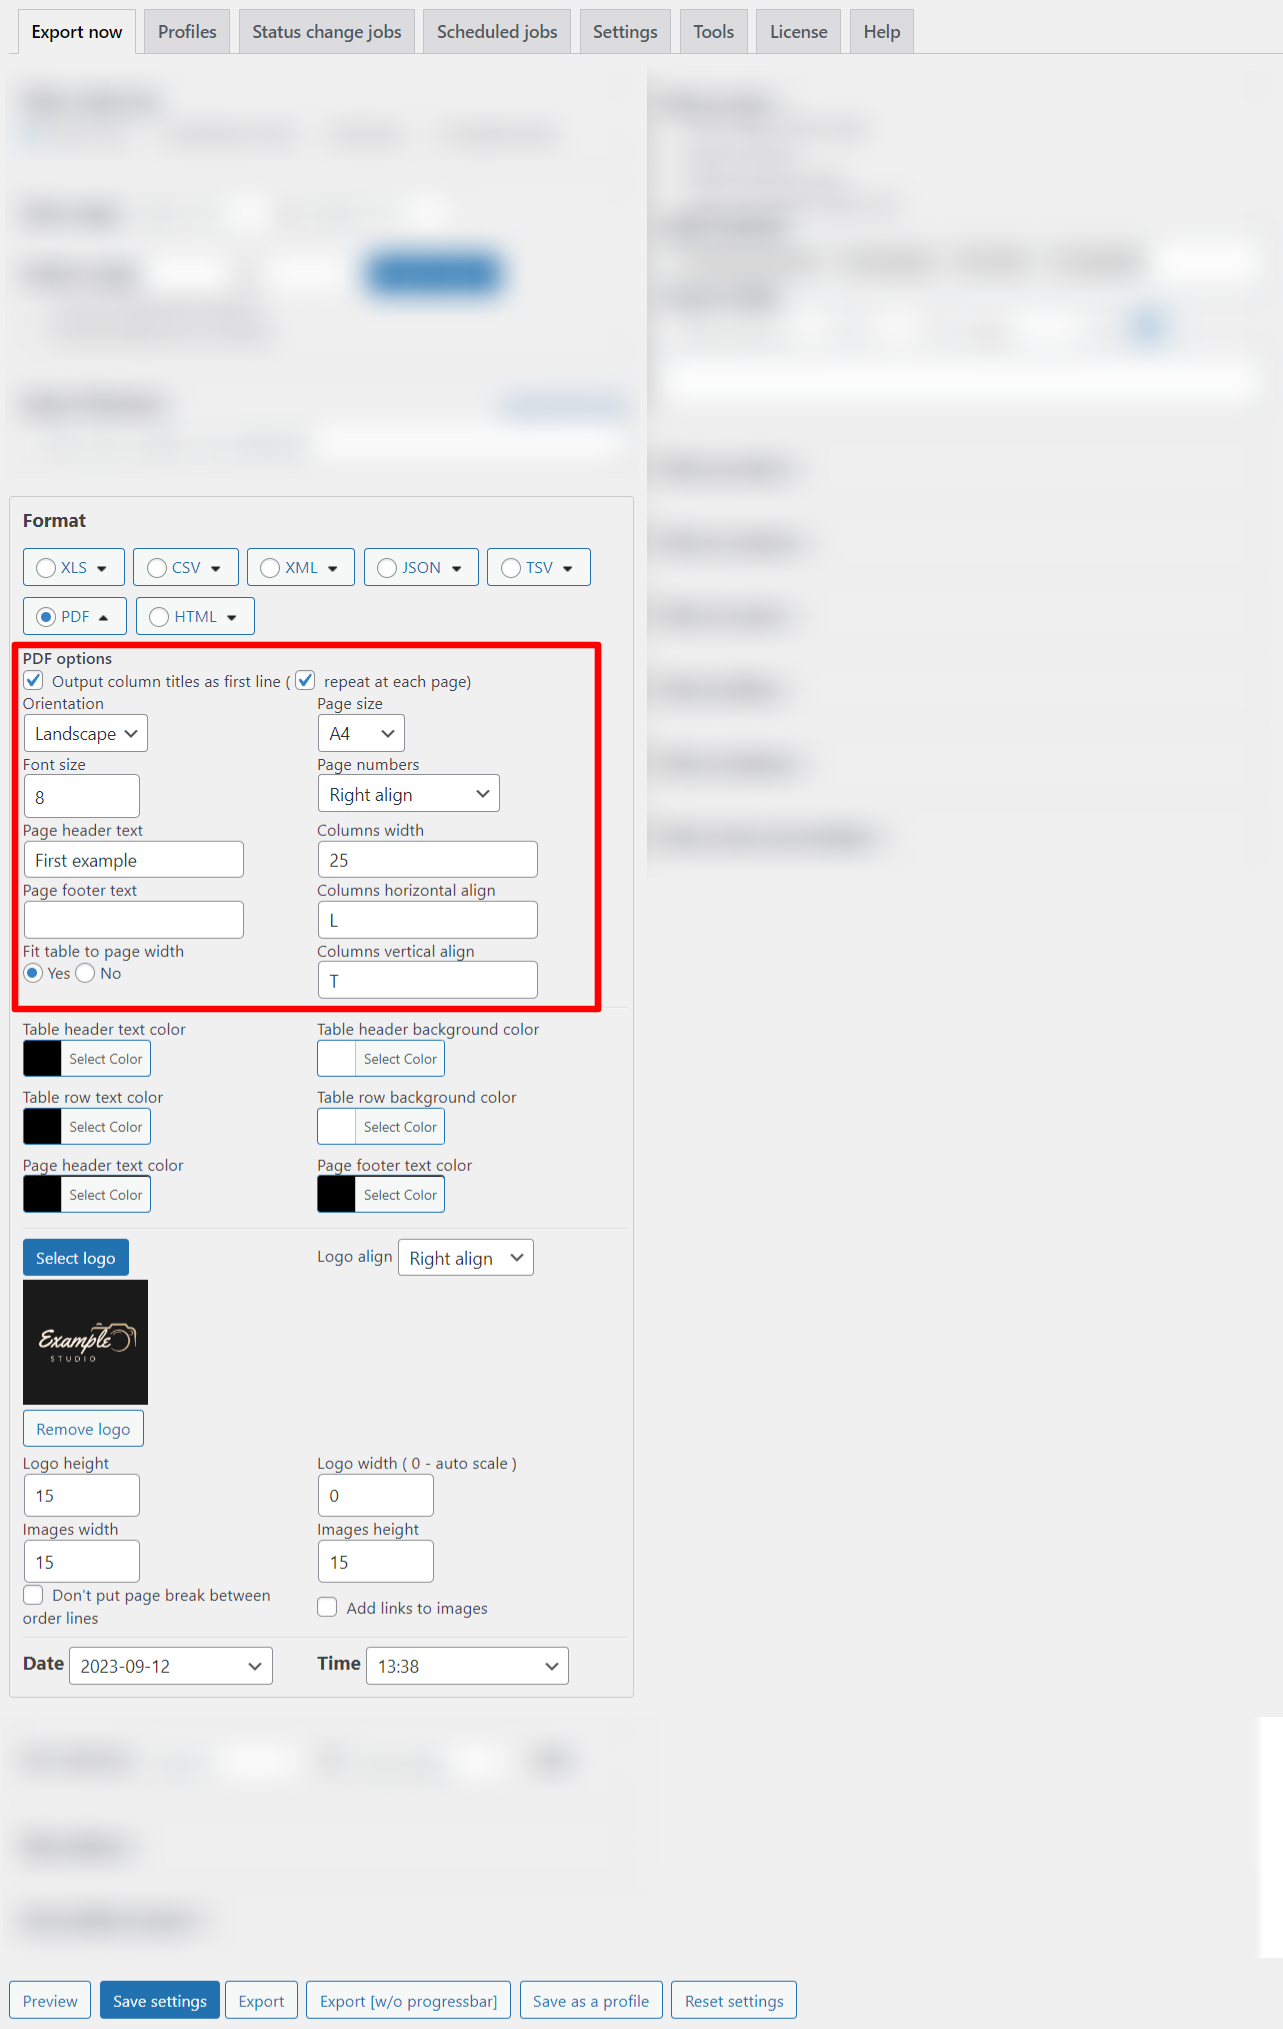
You can also change the colors in your file and add your logo.

Now set up fields to export.
Click on “Remove all fields” and then add other fields by method drag-and-drop.

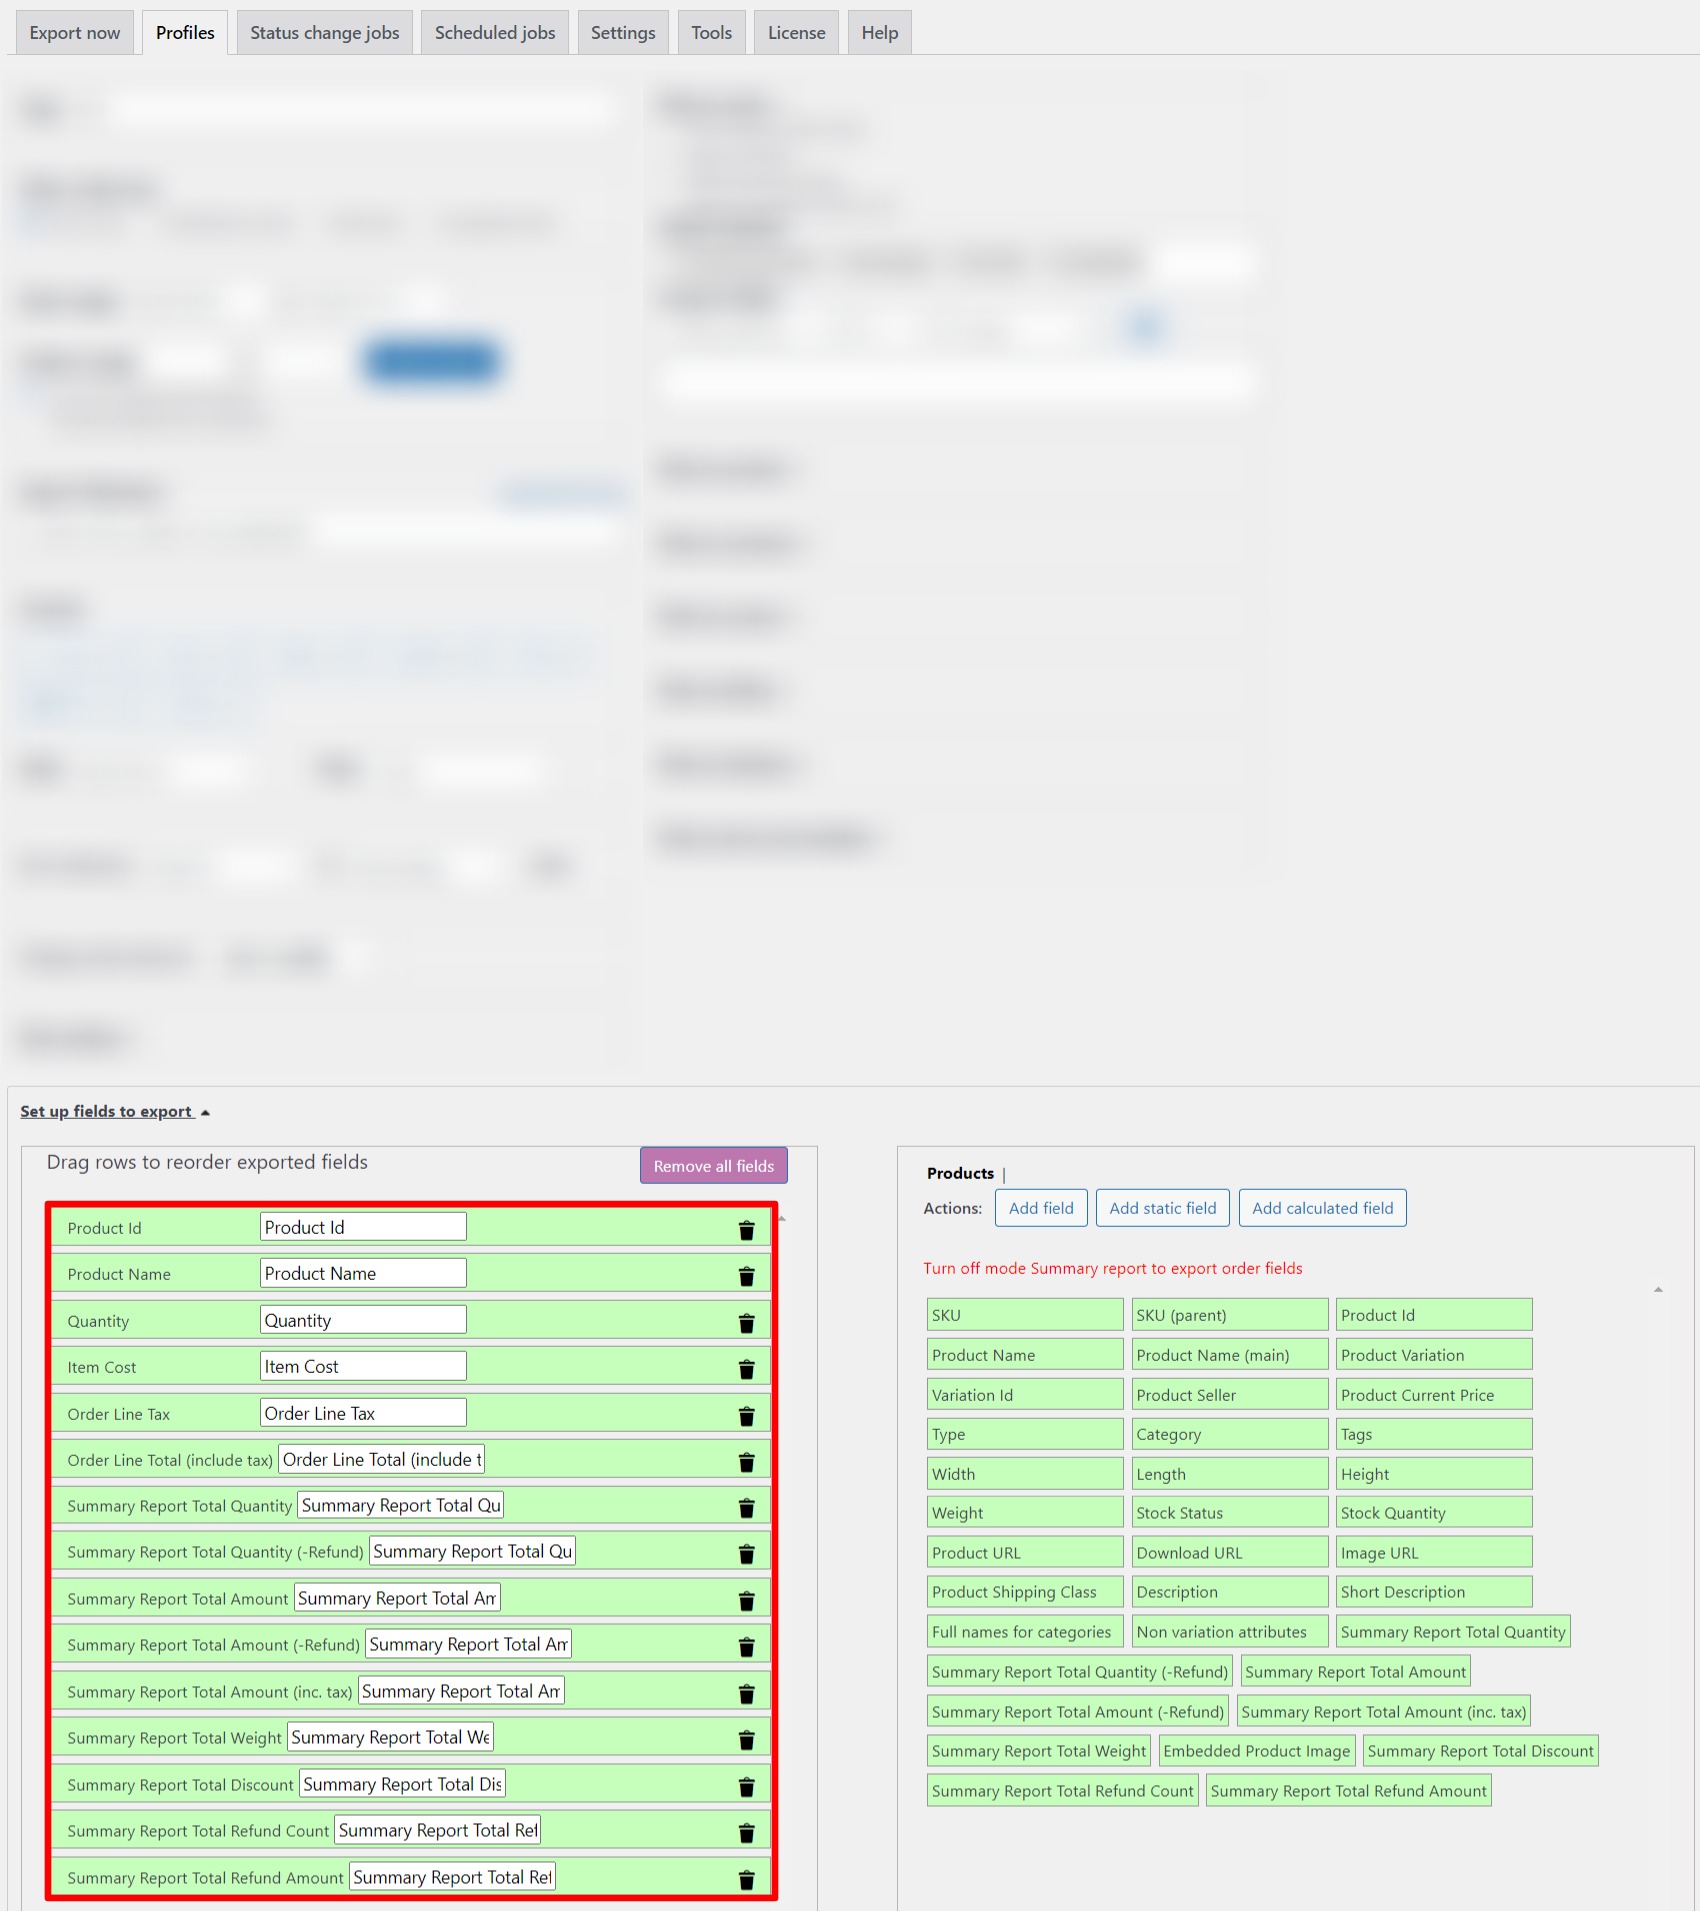
Second situation: summary report by products.
For this type of export, you need to choose “Summary report by products”.
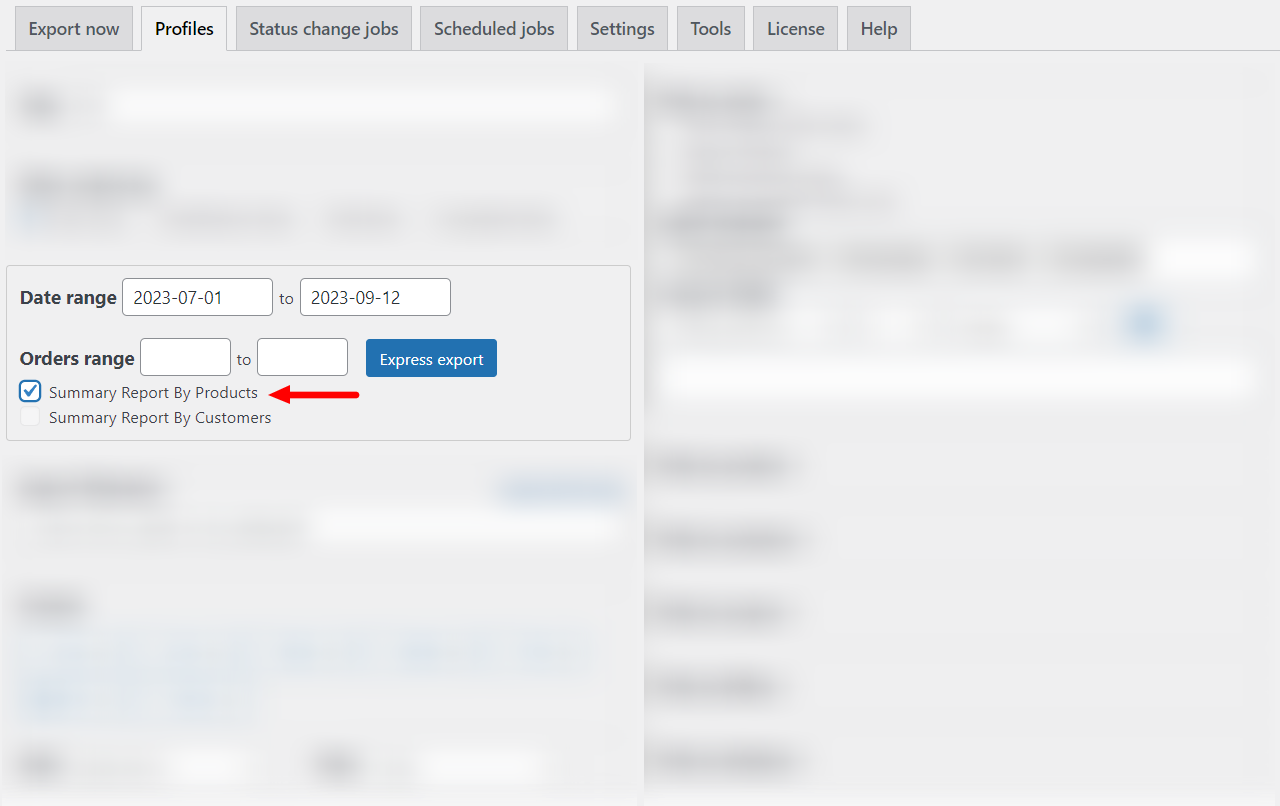
Note: All other settings will be saved, except for the fields for export. They will be changed to those appropriate for this type of report.
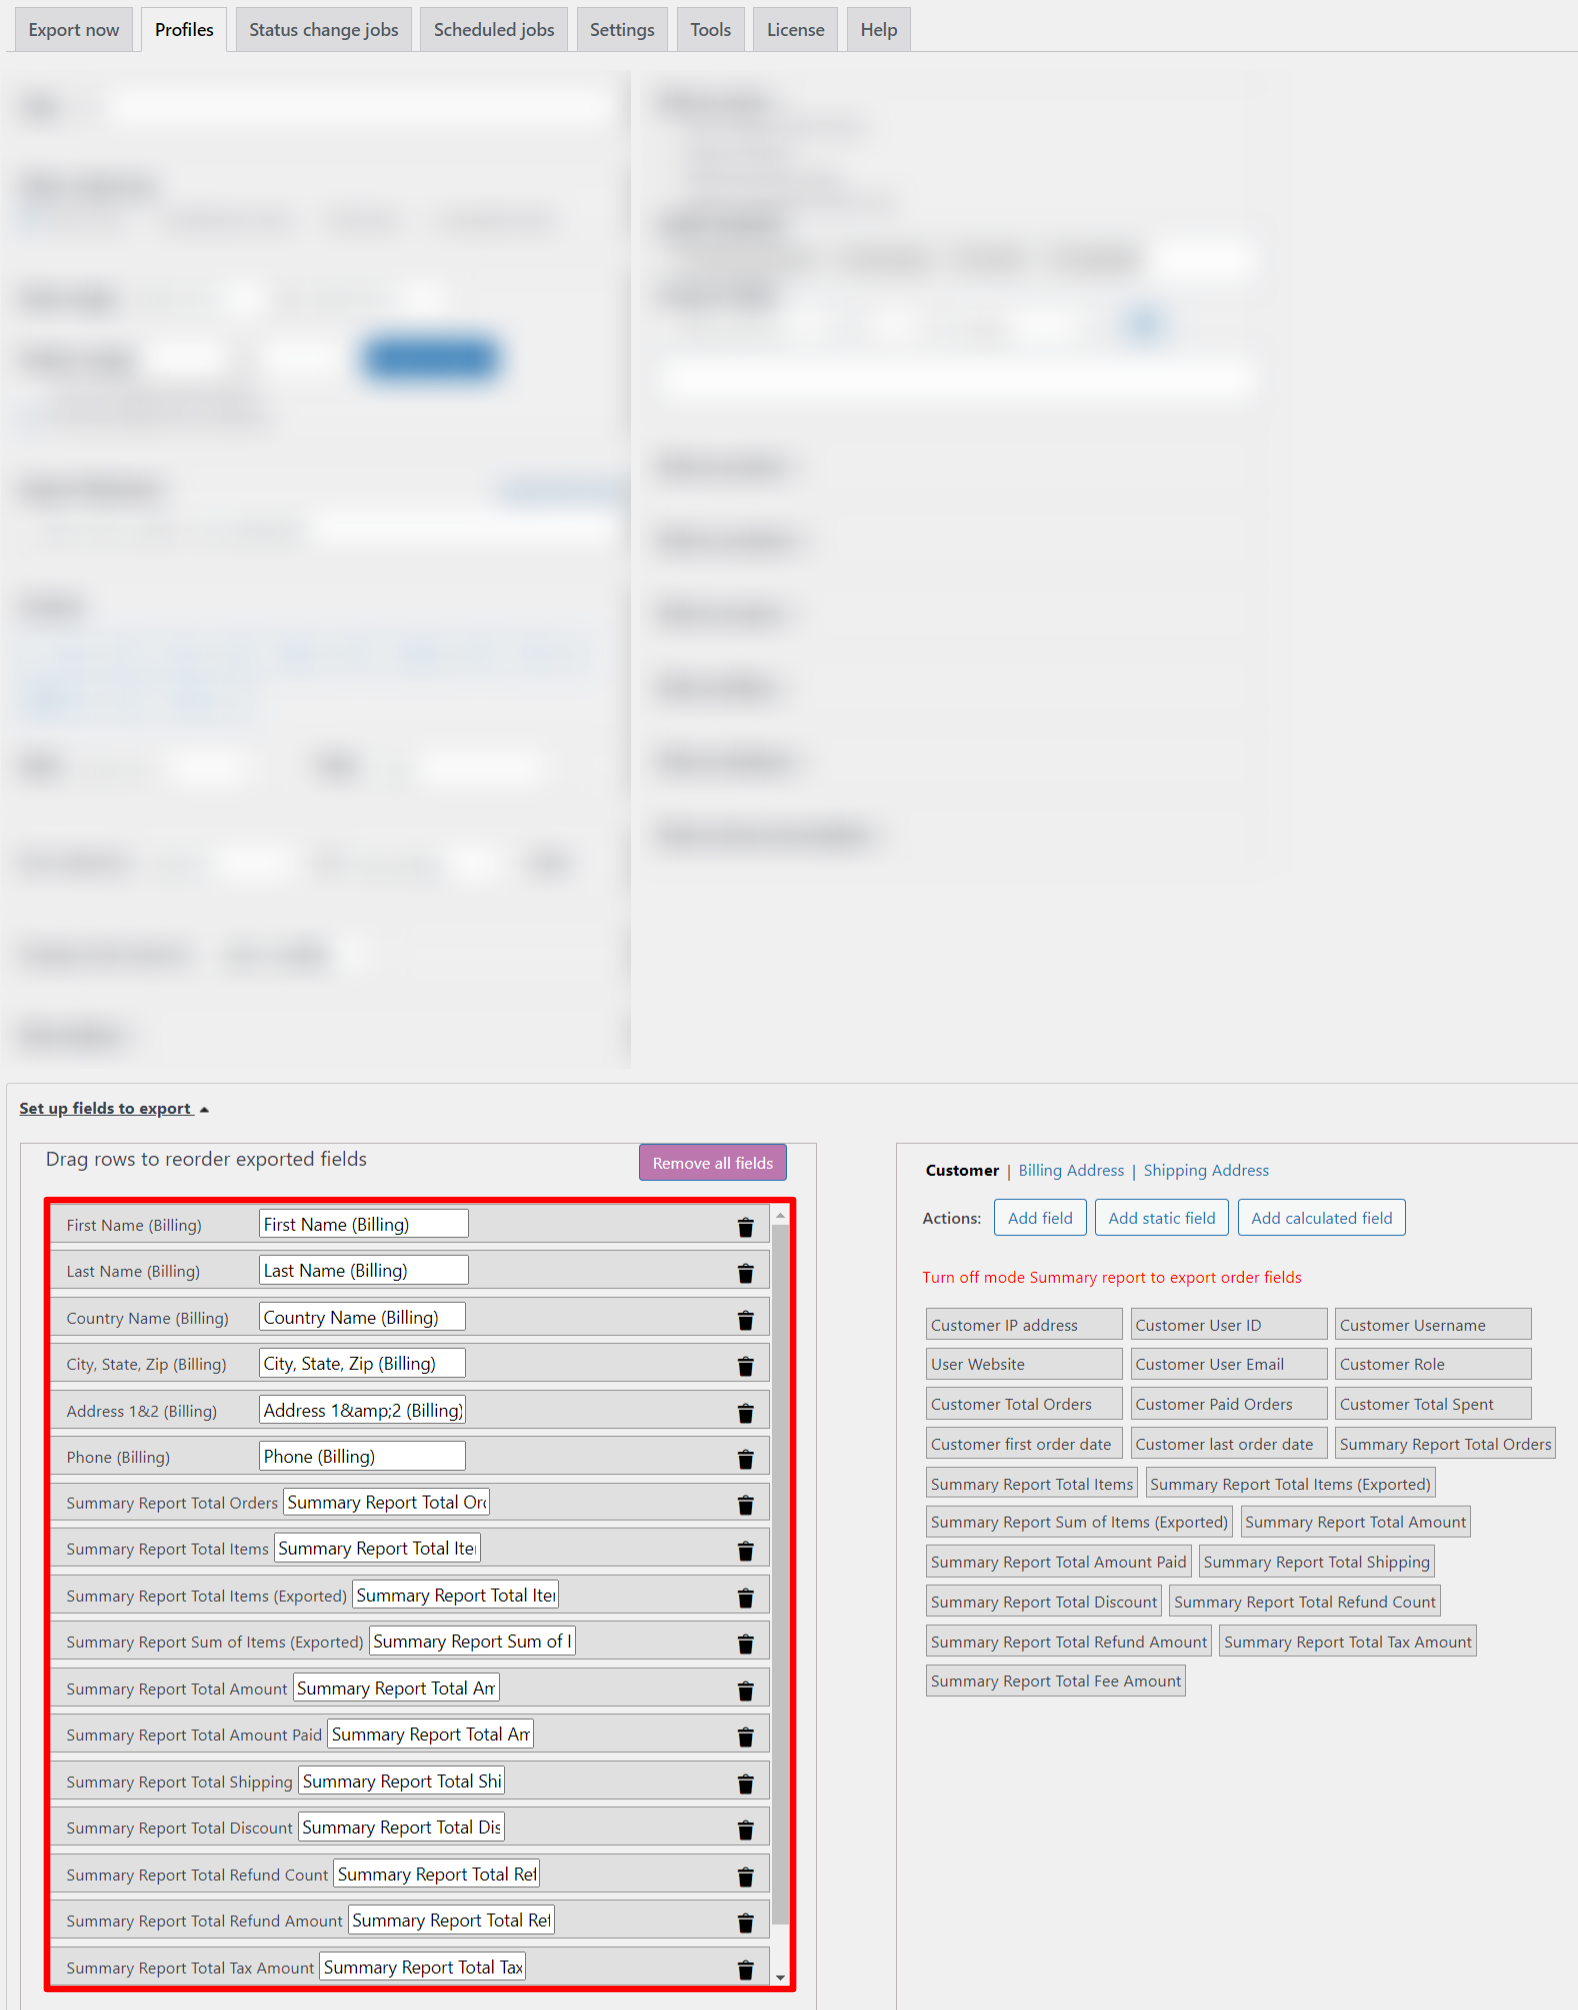
Third situation: summary report by customers.
As in the previous case, you need to tick the “Summary report by customers”.
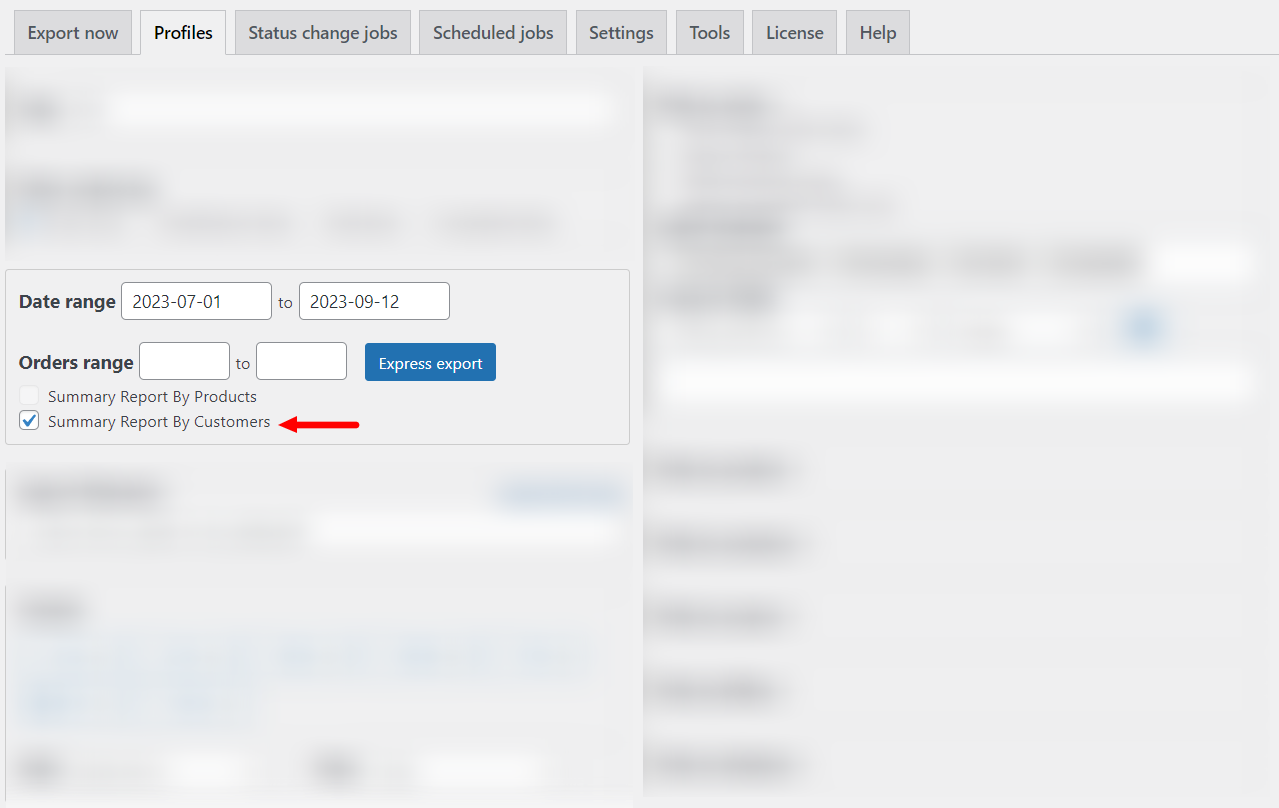
Also fields for export will be different.
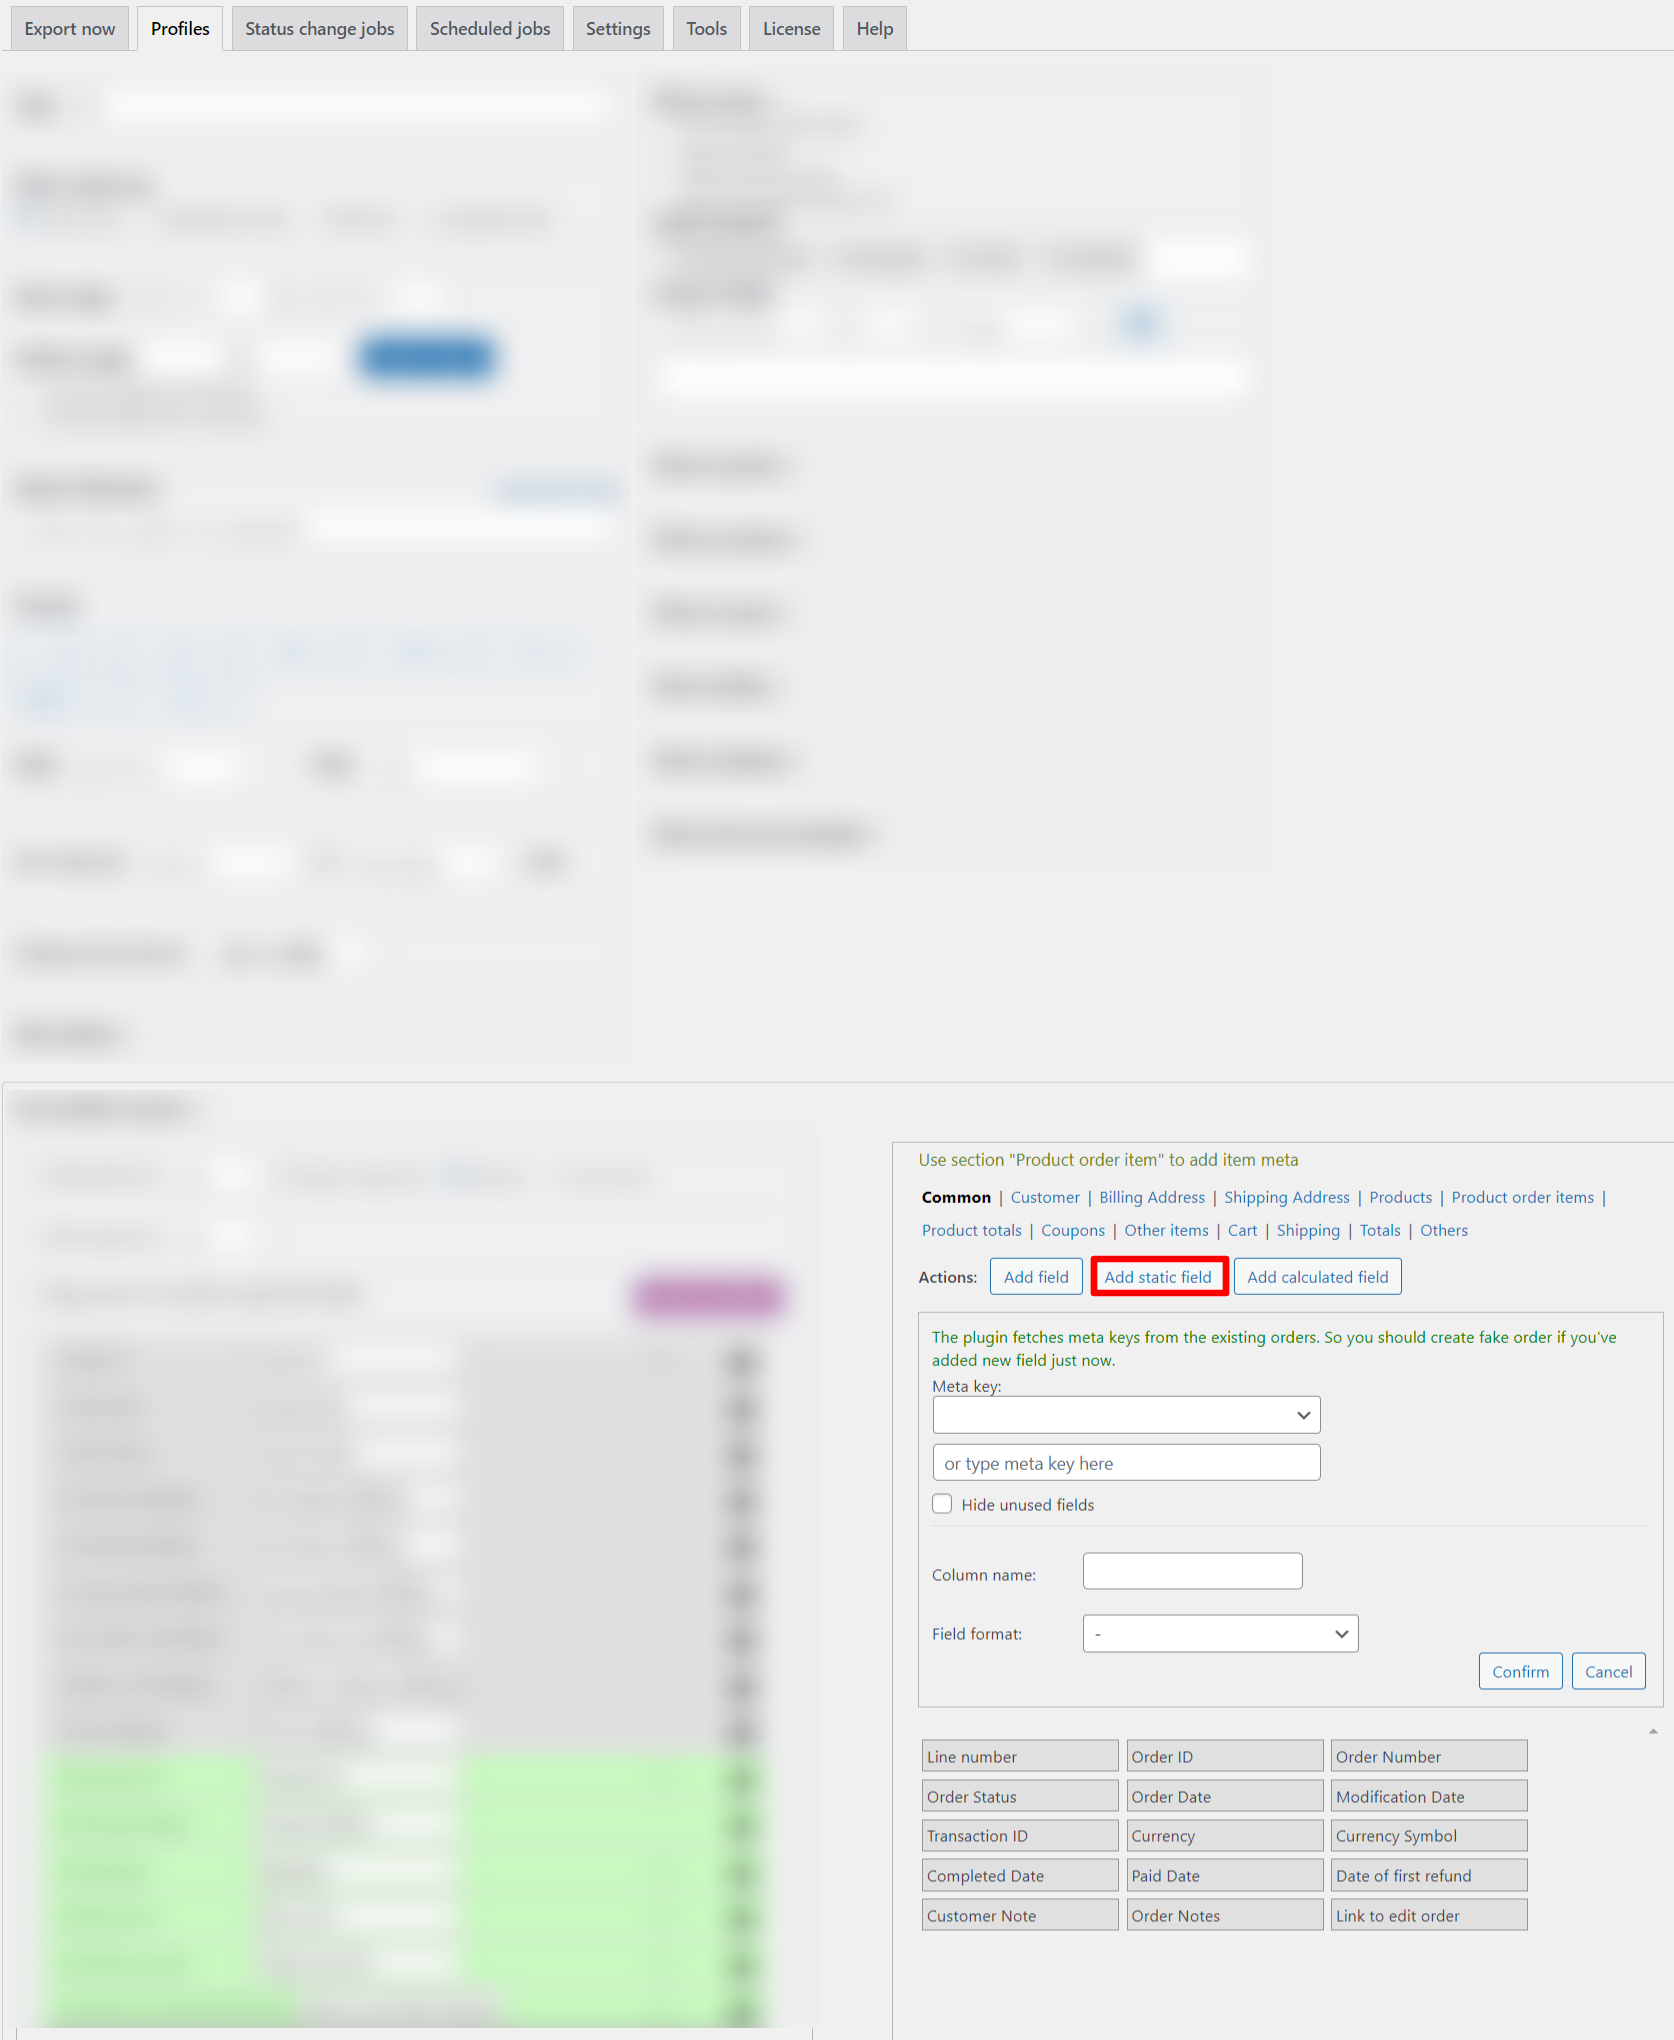
How to create a custom field in Advanced Order Export for Woocommerce
Sometimes it happens that you need additional fields for a report. In the plugin Advanced Order Export for Woocommerce, you can add them yourself.
How to create a custom field:
- Go to the desired category and click on the “Add field” button;
- Select the “Meta key” value;
- Add the value to the “Column name” and “Field format” fields (string only for XLS);
- Click the “Confirm” button.

Another way to add a static field:
- Click on the “Add static field” button;
- Enter a value in the “Column name” field;
- Fill in the “Value” field or leave it empty;
- Select the value from the “Field format” drop-dow;
- Click the “Confirm” button”.
How to save report settings to your own Profile in Advanced Order Export for Woocommerce (Pro)
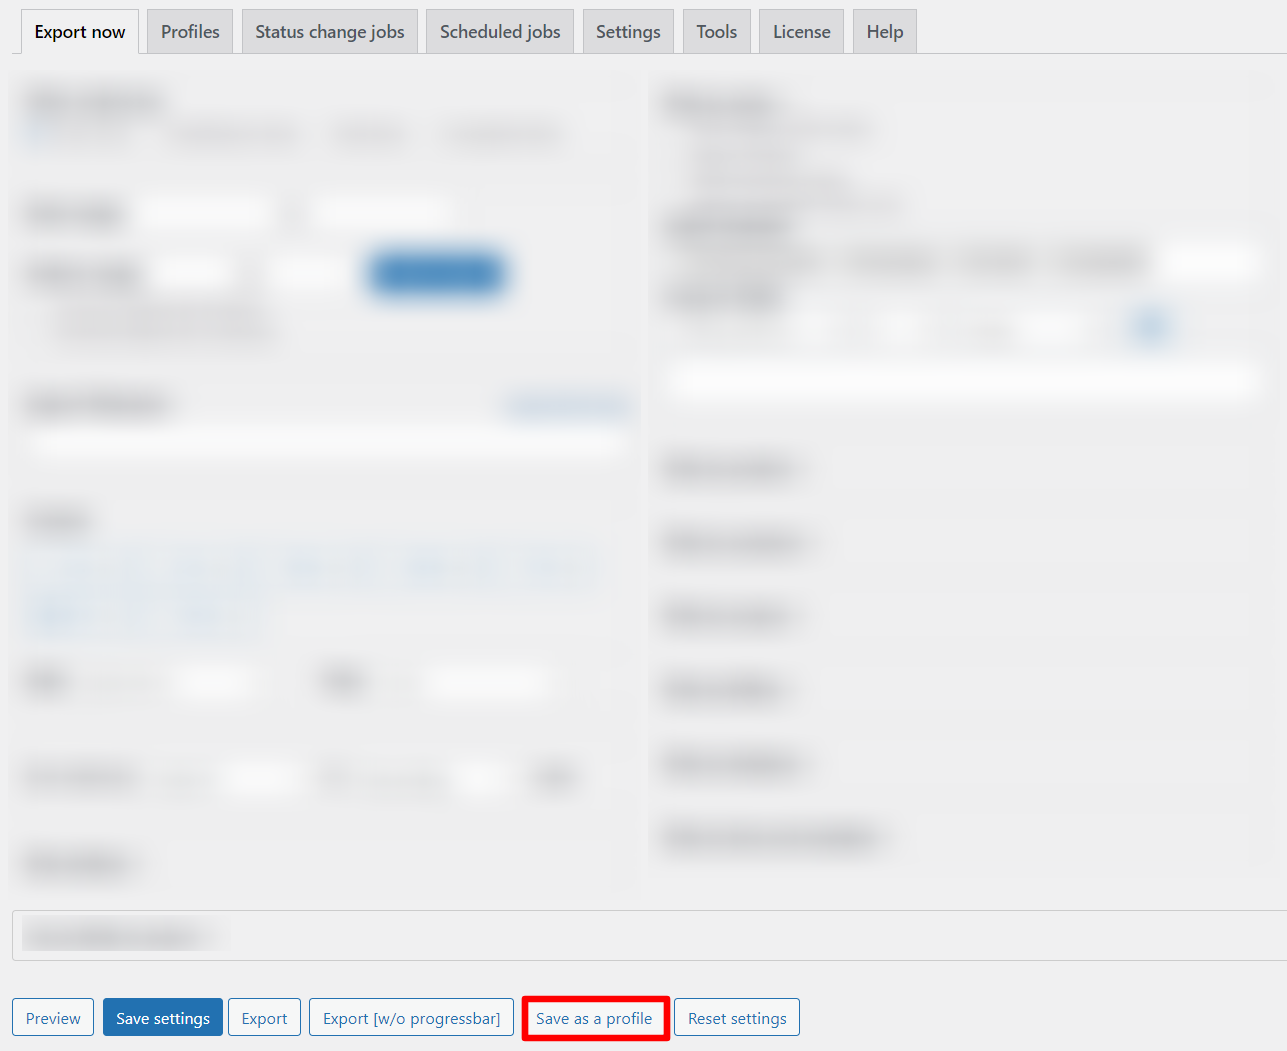
Once you’ve set up your report, you can save them to your Profiles.
To do this, click on the “Save as a profile” button.
You can create several such settings for different types of reports, as well as configure their schedule, automatic export when the order status changes, and the destination. (view details in “pro version” article)
Export the order
Note: Before exporting orders, you must ensure that your list of orders is not empty.
There are two ways to export orders from Woocommerce: “Export” and “Export without progressbar”.
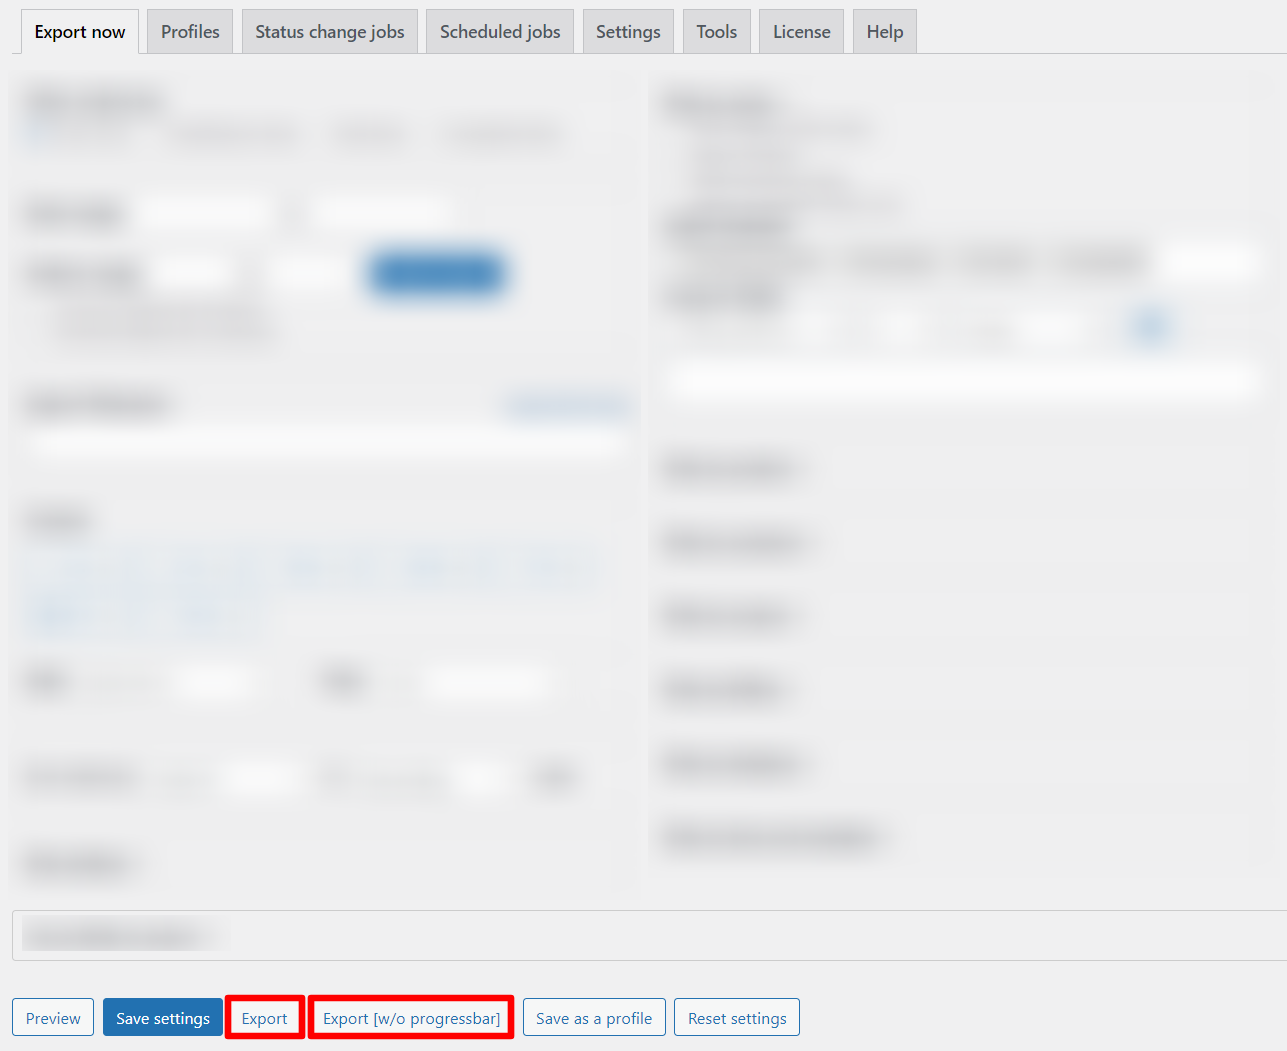
For bulk exporting orders, you must use the “Export” button. Otherwise, click on “Export without progressbar”.
There are three reports: the regular file with multiple orders, summary report by products, and summary report by customers.


Conclusion on how to set up Advanced Order Export for Woocommerce.
Now you figured out how to configure Advanced Order Export for Woocommerce. It also has many other equally useful settings. You can read about all of them in our plugin documentation.