
How to set up Phone Orders for WooCommerce: Beginners Guide
How to set up Phone Orders for WooCommerce: Beginners Guide
Table of Contents
Essentially, a phone order is a calling up to your buyers and placing an order via telephone. This can obviously be a huge boon to your revenue as you don’t have to use postage or an expensive shipping service to ship products to customers who may only be making a small order.
The Phone Orders for WooCommerce makes it easier to enter phone orders in the WooCommerce backend. This makes it much more efficient.
The plugin has many useful features:
- Quick search through existing customers or add new ones
- Easily add new products or search for existing ones on-the-go
- Prices can be set according to default rates, or adjusted within the order itself
In this article, we will show how to install and start to use the Phone Orders plugin.
How to install Phone Orders for WooCommerce
Click on the “Plugins” tab and select “Add New”.
Then enter “Phone Orders for WooCommerce” in the search bar. Click on the “Install now” button and then on the “Activate” button.
The plugin will appear in the “Woocommerce” tab.
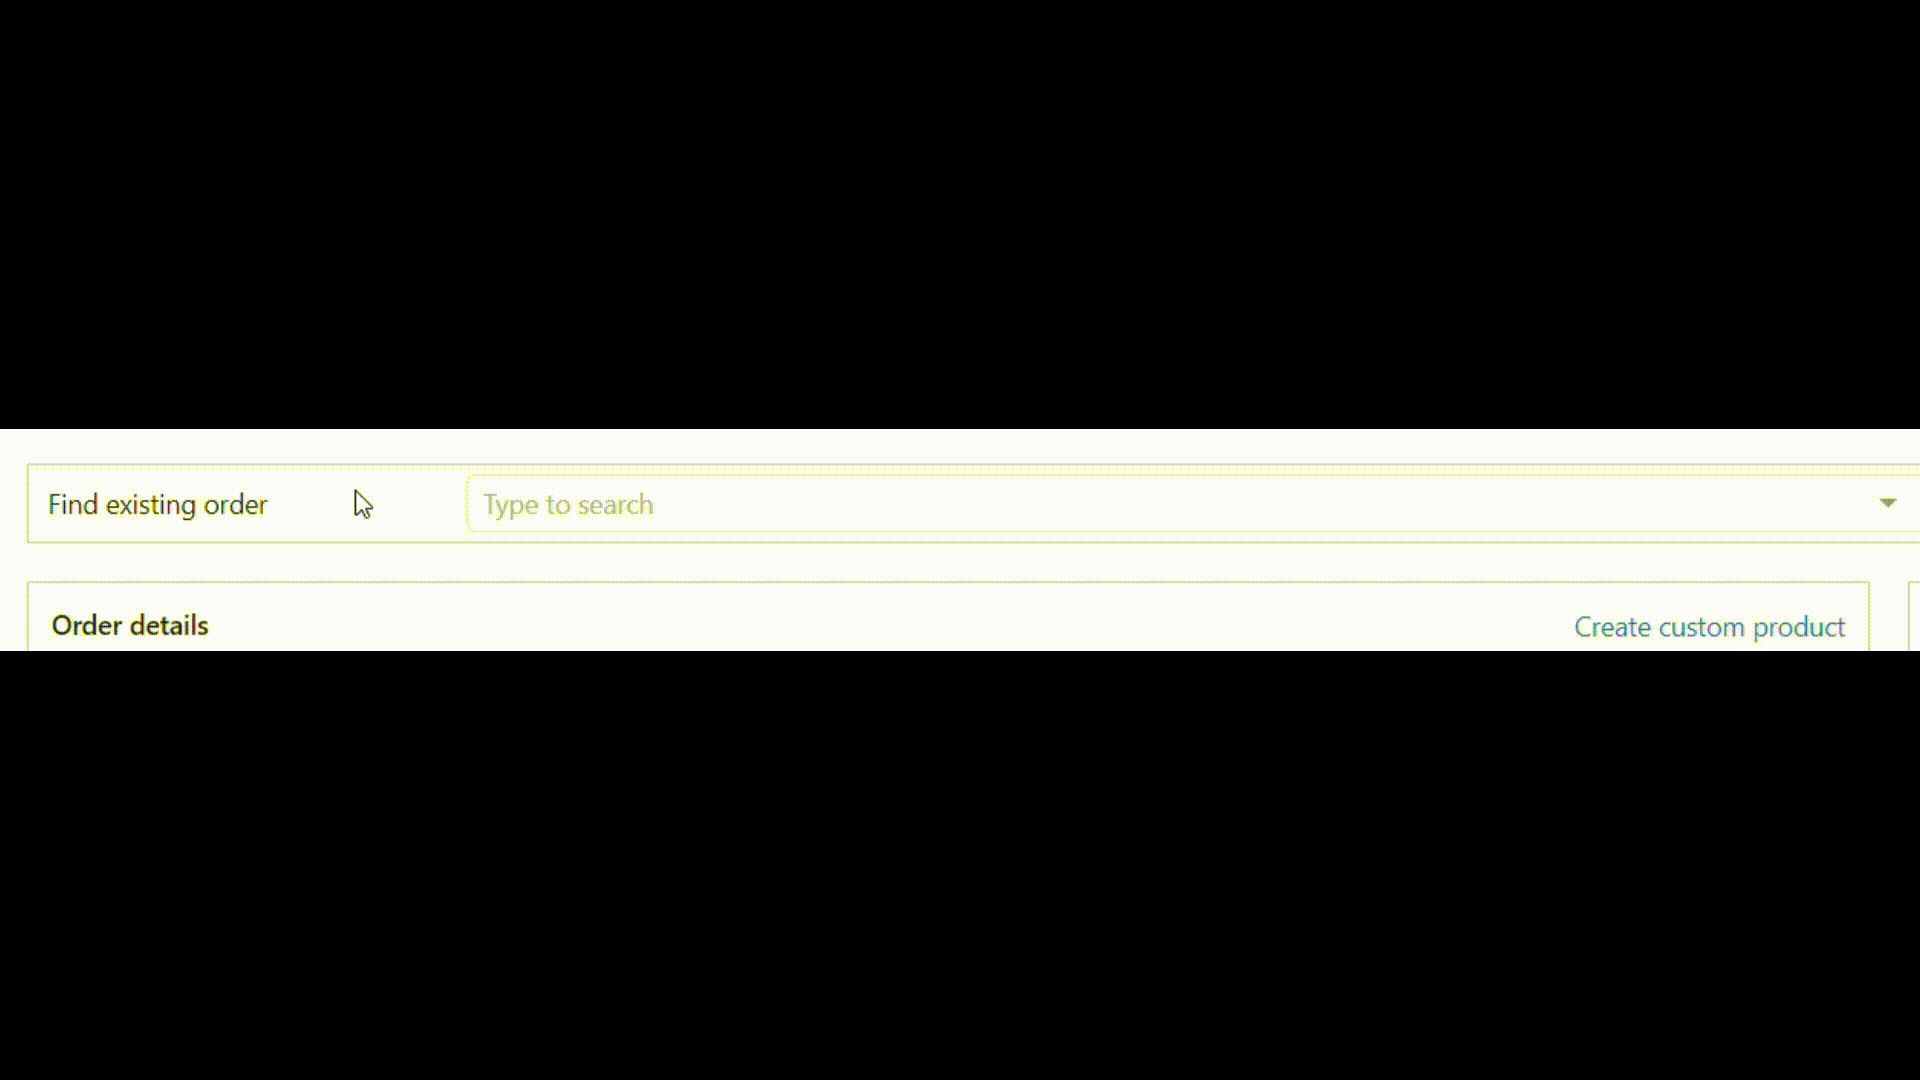
How to create a new order in Phone Orders for WooCommerce
As you can see in the picture, the “Phone Orders” area is divided into two blocks: order details and information about the customer.
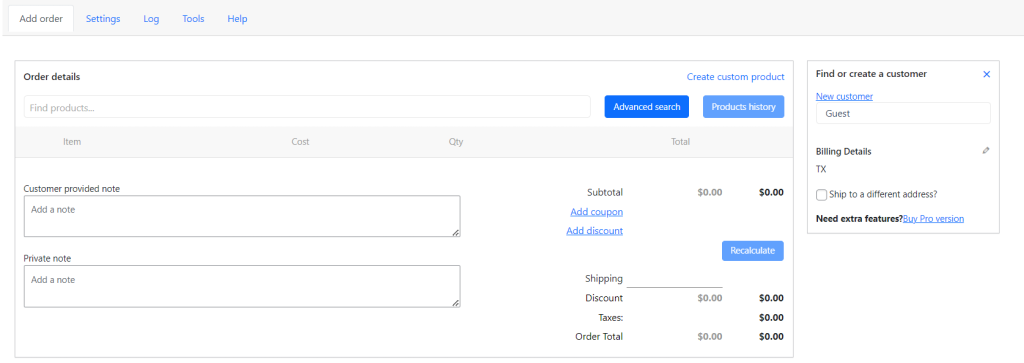
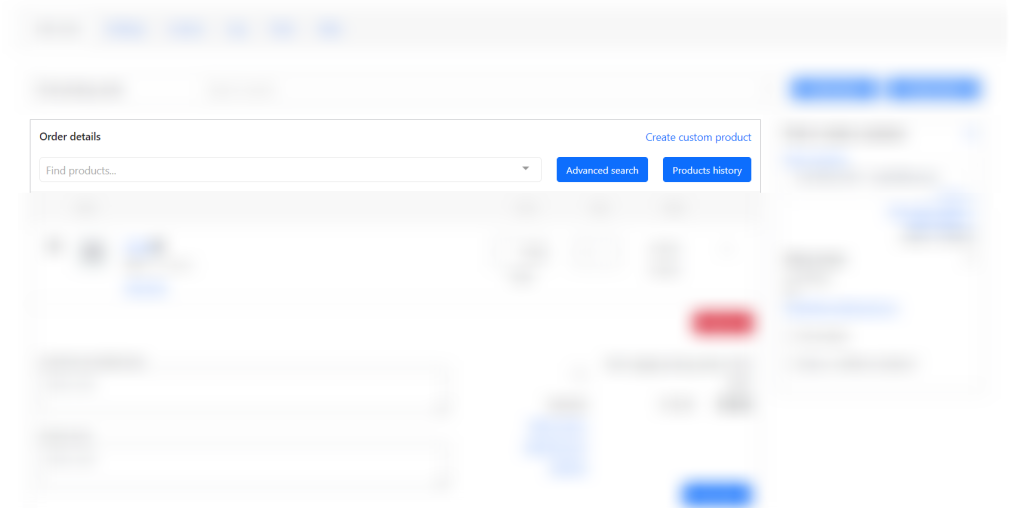
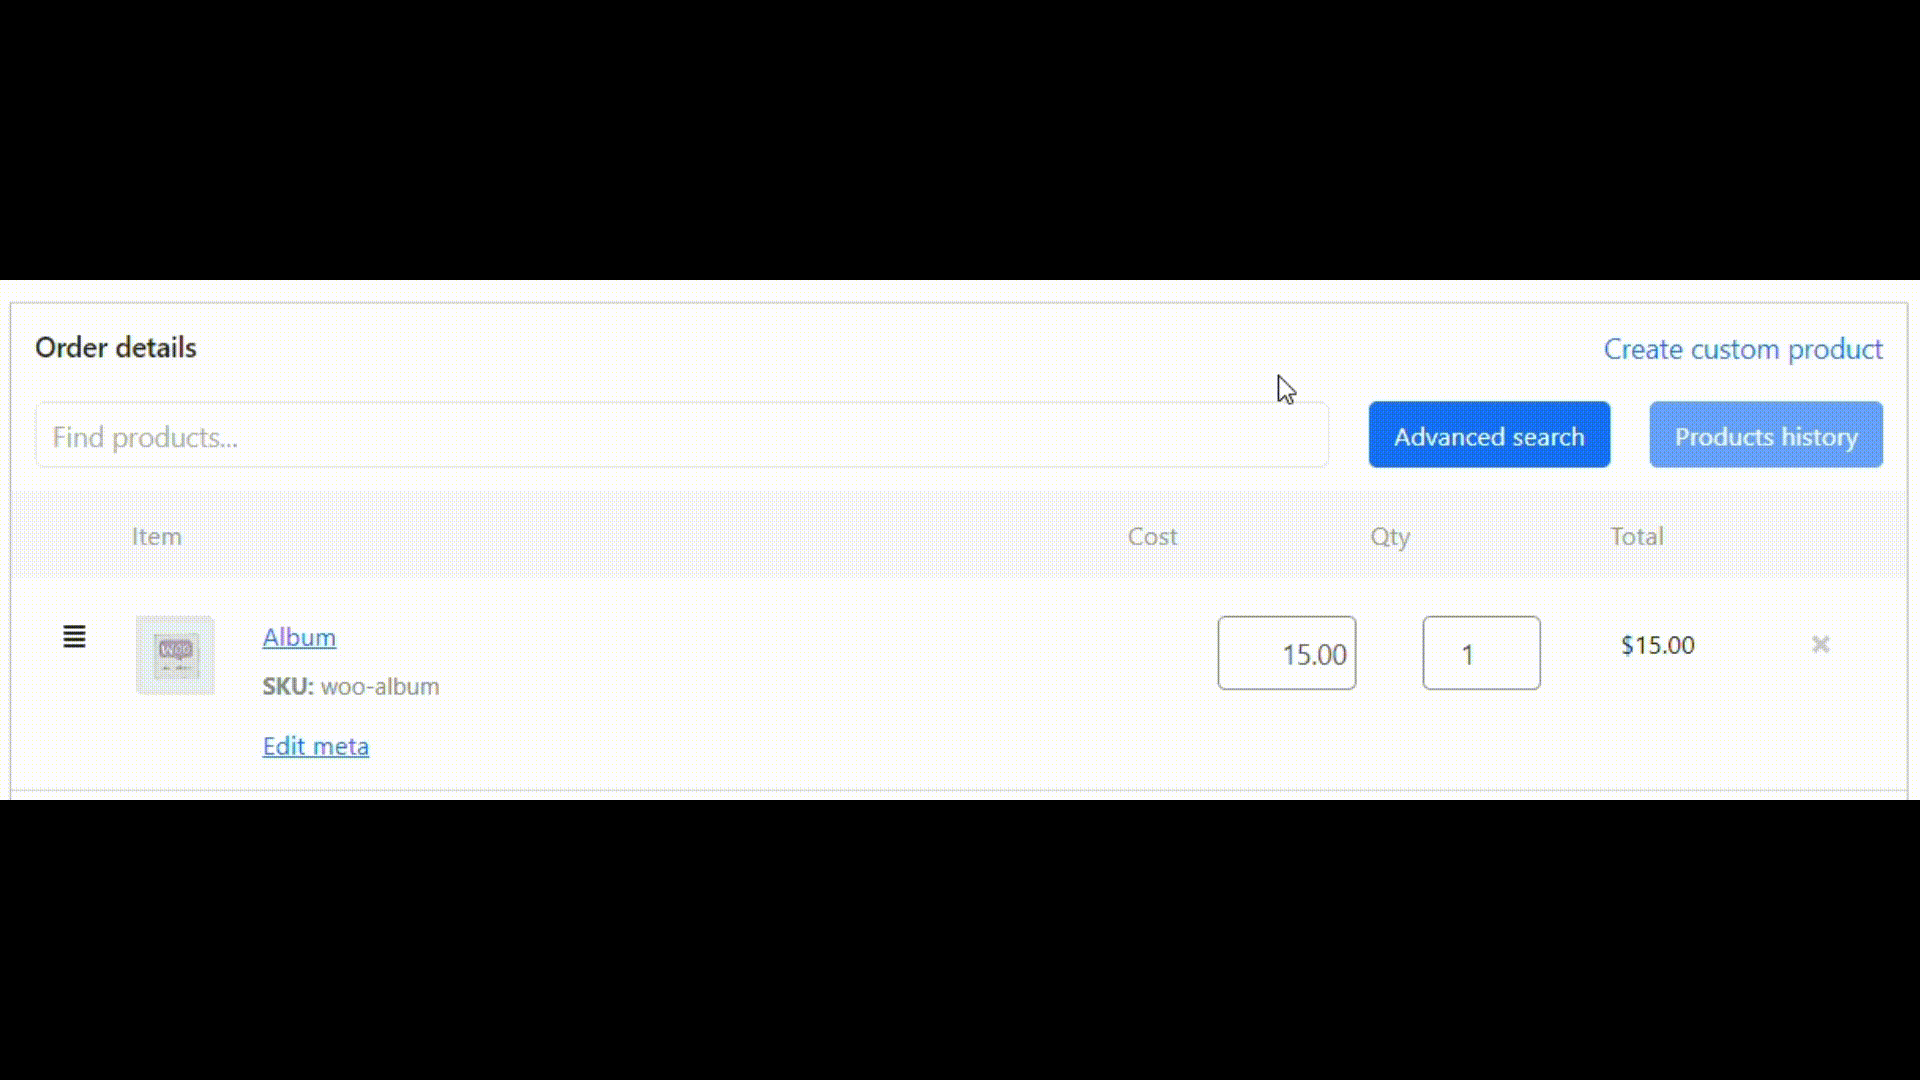
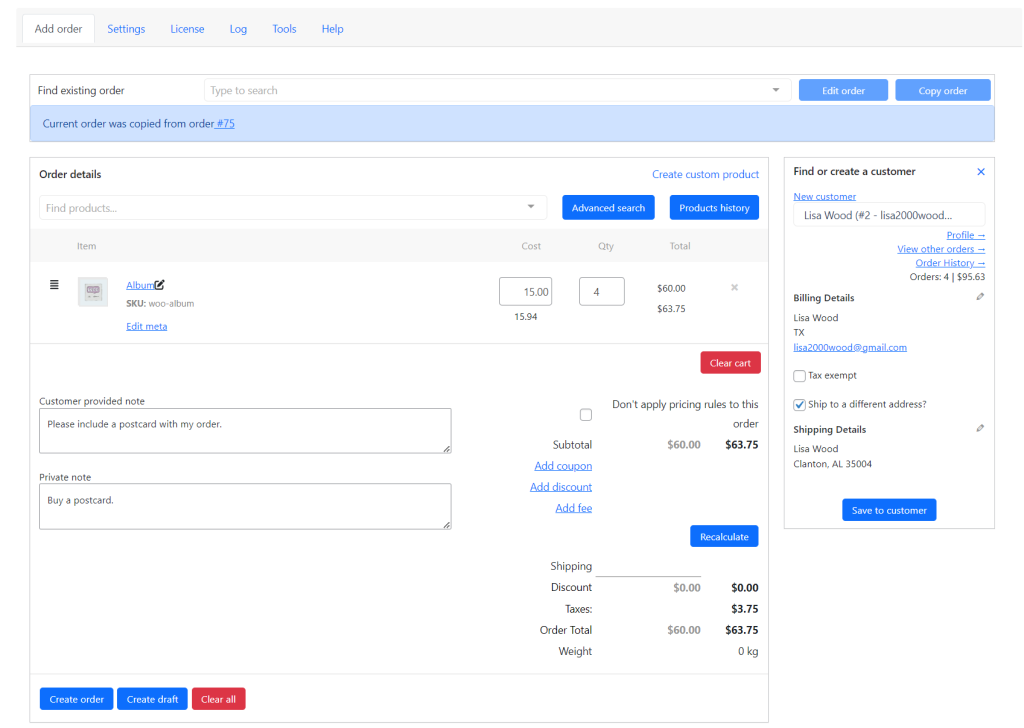
Fill in the details of the order. We select the products that the customer wants to purchase.

As soon as we click on the desired product, it immediately appeared in the shopping cart.
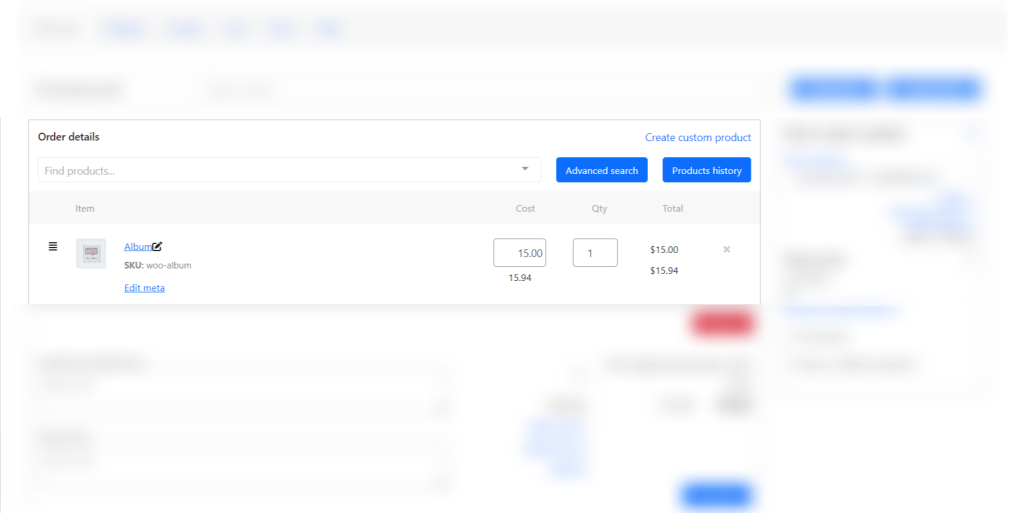
Let’s change the price and quantity.
Click on the “Recalculate” button to display the tax in the shopping cart.

Now the price with tax is displayed in the cart.

Notes are located in the lower left corner. It can be both notes of the customer, and others.

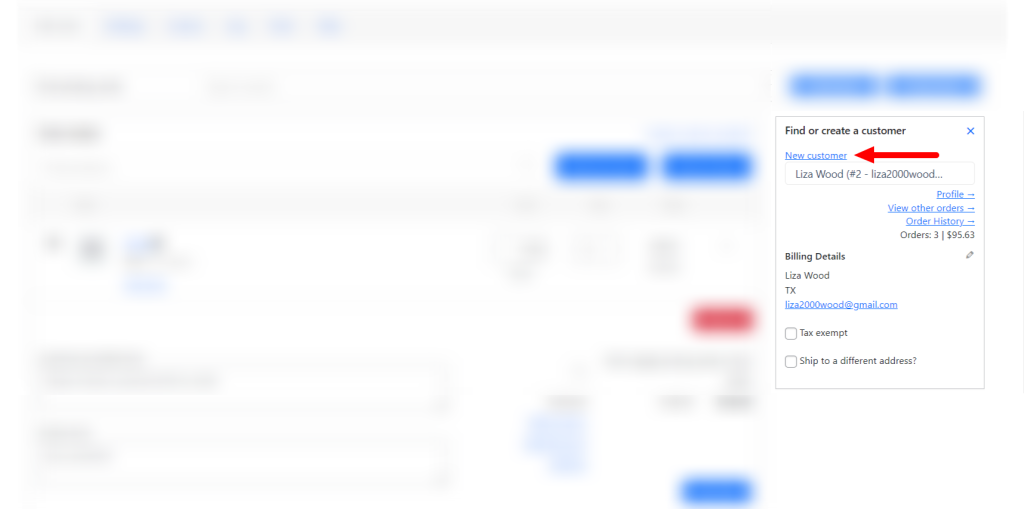
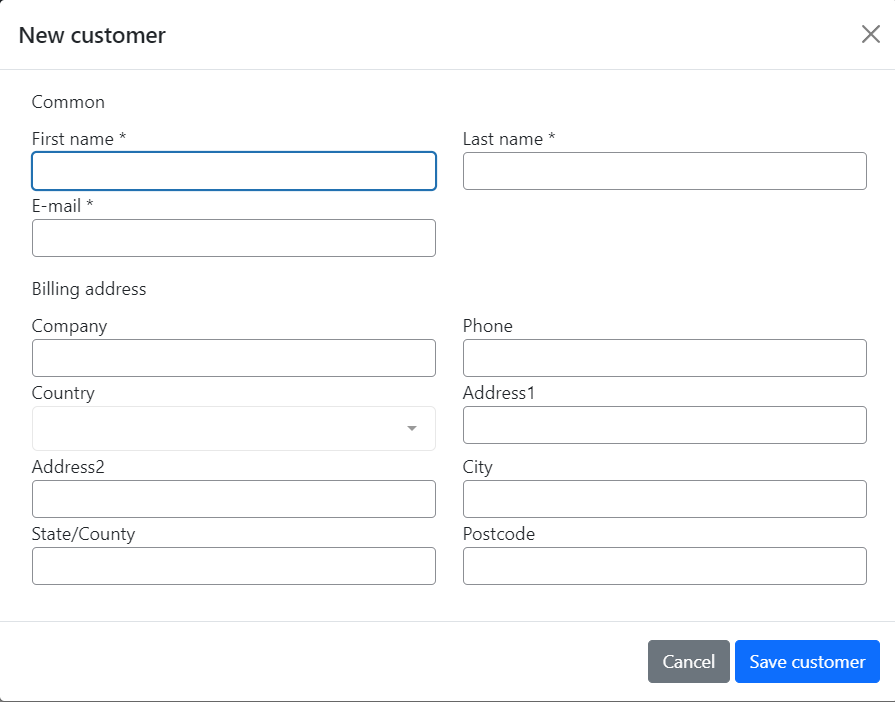
Let’s add a new customer. Click on the “New customer” button link.
Required fields are marked with a checkmark. Let’s fill it in.
Note: You can set up suitable required fields in the pro version.
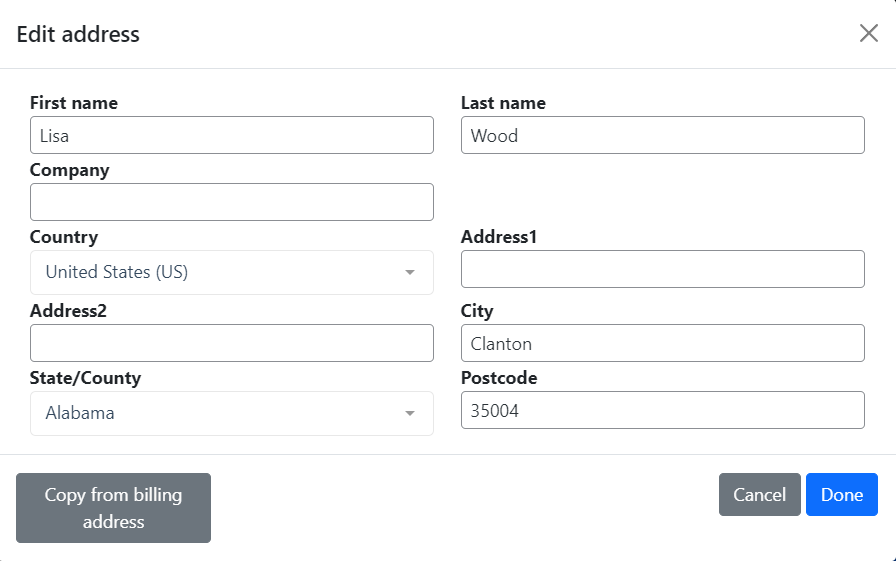
For example, Lisa (our customer) said that she needs to deliver the order to a different address. Check the box “Ship to a different address?” and fill in the data (pencil icon).


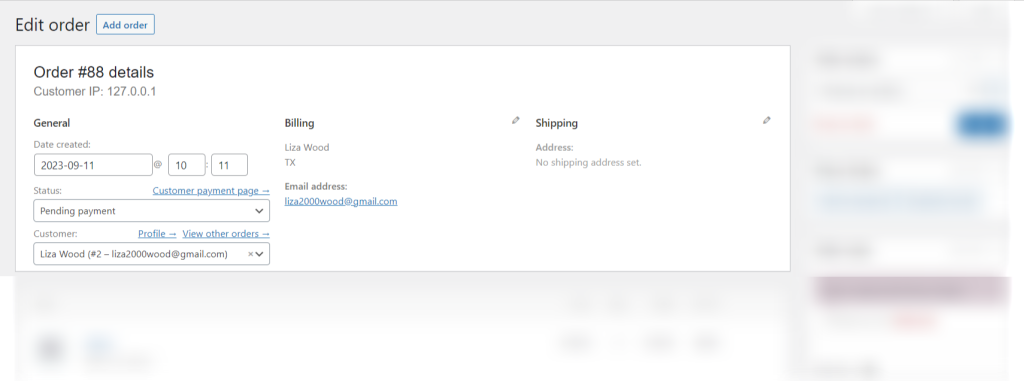
When you have entered all the details of the order, click on the “Create order” button. Now you can view the order, send a check to the customer by email or create a new order.

This is what the “View order” page looks like.
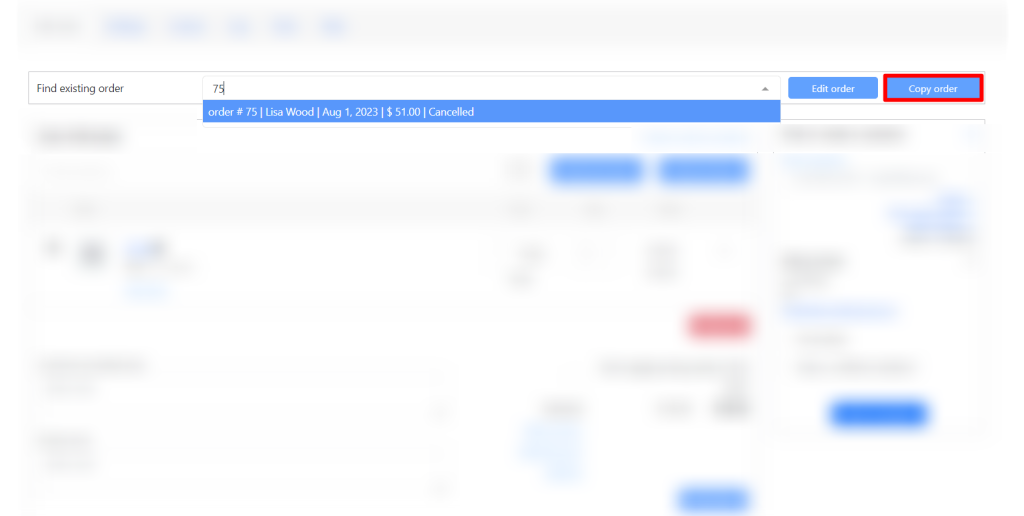
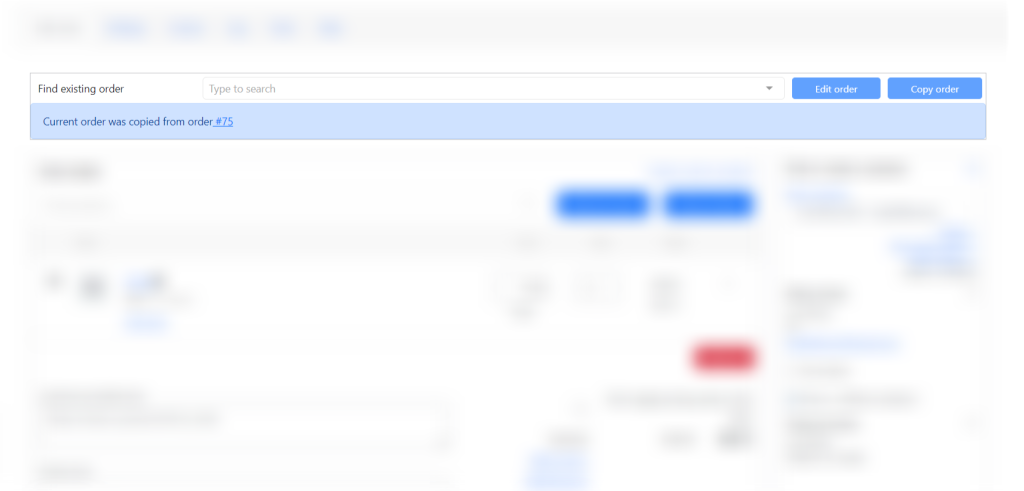
How to create a new order based on existing order in Phone Orders for WooCommerce
Find, edit and copy an existing order using “Find Existing Order” section in the PRO version of the Phone Orders plugin:
- Input customer name, product name or order number;
- Find and choose the order you need;

- Сopy it to the new.
In the PRO version of the plugin, you have access to such functions as:
- Pause and resume the order
- Customer search by shipping/billing fields
- Configure fields and default values while adding new customers
- Define products that can be sold (out of stock? without price?)
- Support composite/bundled/other complex products
- Add any additional fees
- Setup custom fields for the order/customer
- Extra WooCommerce reports
- After creating the order, you can “Pay order as customer”
Read about them in our article How to set up Phone Orders for WooCommerce: Beginners Guide (Pro).
Conclusion on how to set up Phone Orders for WooCommerce
In this blog post I have demonstrated how to set up Phone Orders for WooCommerce. I hope you will be able to set up the plugin with the help of this article. If you are looking for other helpful tutorials, read related articles of this blog.