How to set up Phone Orders for WooCommerce (Pro): Beginners Guide
Table of Contents
How to install Phone Orders for WooCommerce (Pro)
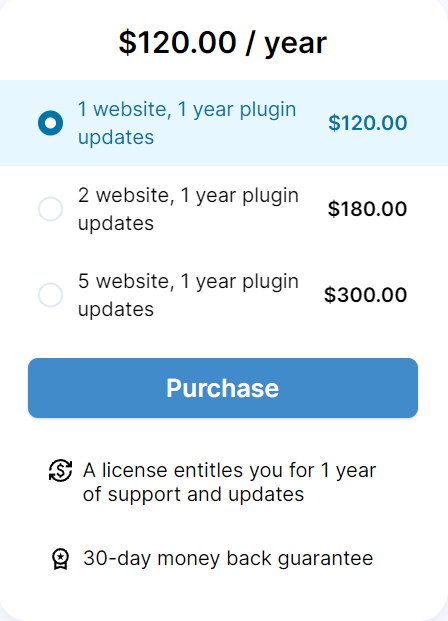
The pro version of the plugin is paid. To purchase it, follow this link: https://algolplus.com/plugins/downloads/phone-orders-woocommerce-pro/
Select the appropriate tariff and click on the “Purchase” button.
After payment, you will receive an email with the plugin archive and activation key.
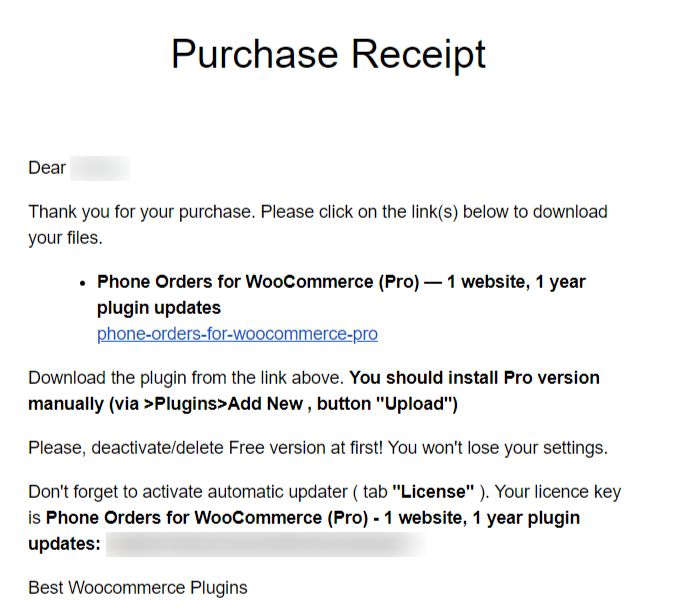
Please, deactivate the free version of the plugin and install the pro version instead of it.
Then go to the “Plugins” tab and click on “Add new”.
Click on the “Upload” button at the top of the page and choose the plugin archive. The plugin will appear in the “All plugins” tab. Activate it.
How to configure fields and default values while adding new customers
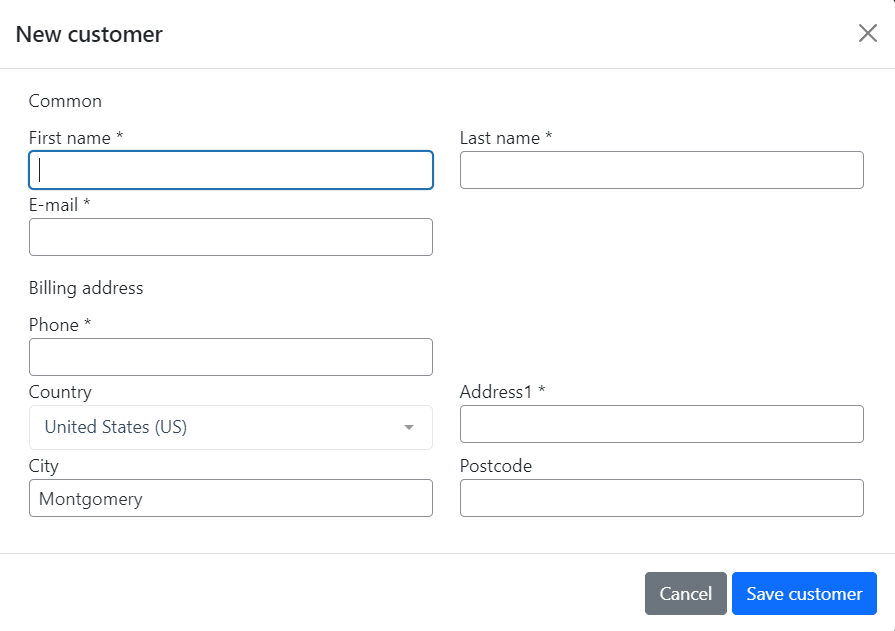
In the guide about the free version of the plugin, we told you about how to specify the shipping / billing address for the customer.
If you need to select your required fields, then follow the next steps.
Click on “Settings” the tab and choose the ”New customers” link. You will see this panel.
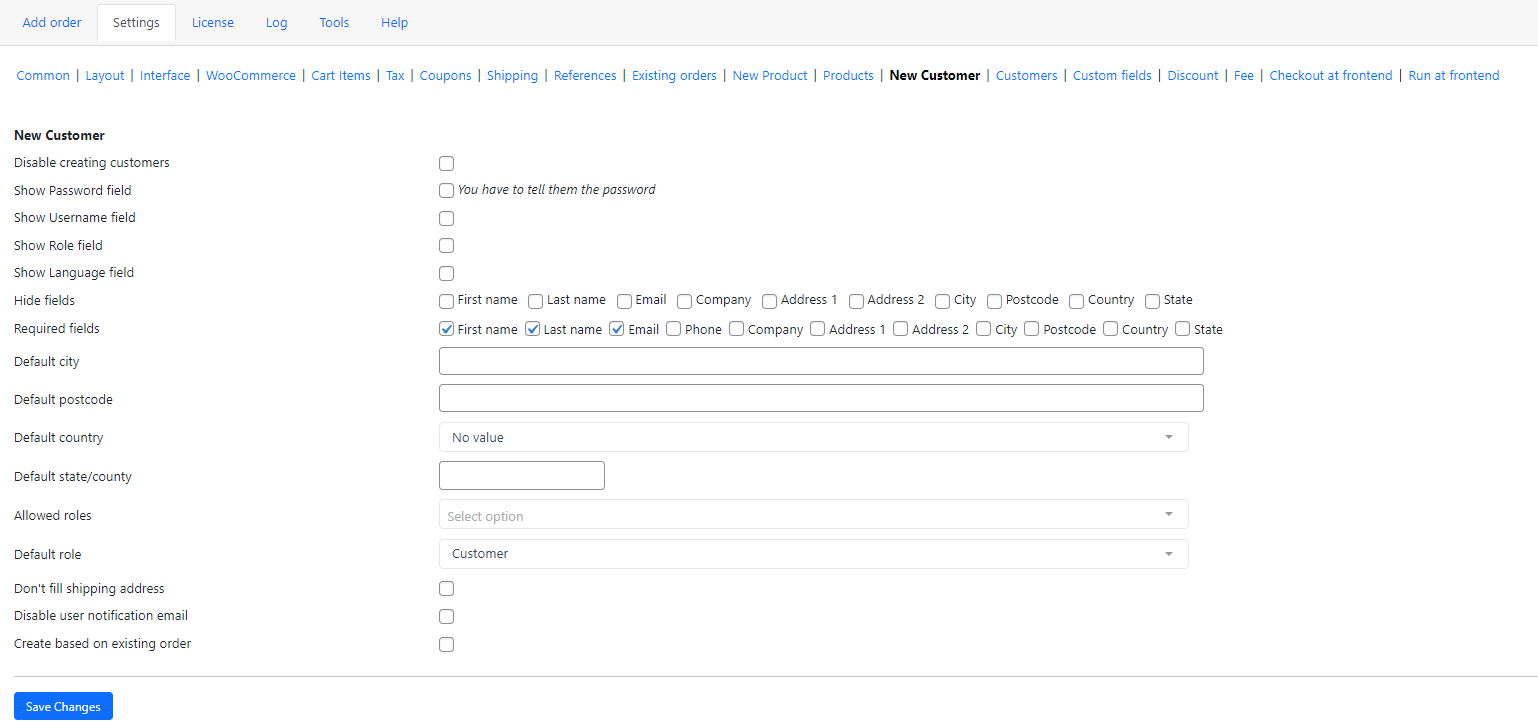
To hide fields, check fields with a checkmark next to them.

You can select required fields. The selection algorithm is similar to the previous one.

Choose the default city, postcode, country, state for every new customer.

Now, you don’t need to fill in the required field while placing the order, because they have default values.
How to define products that can be sold
Click on the “Settings” tab and choose the ”Products” link. You will see this panel.
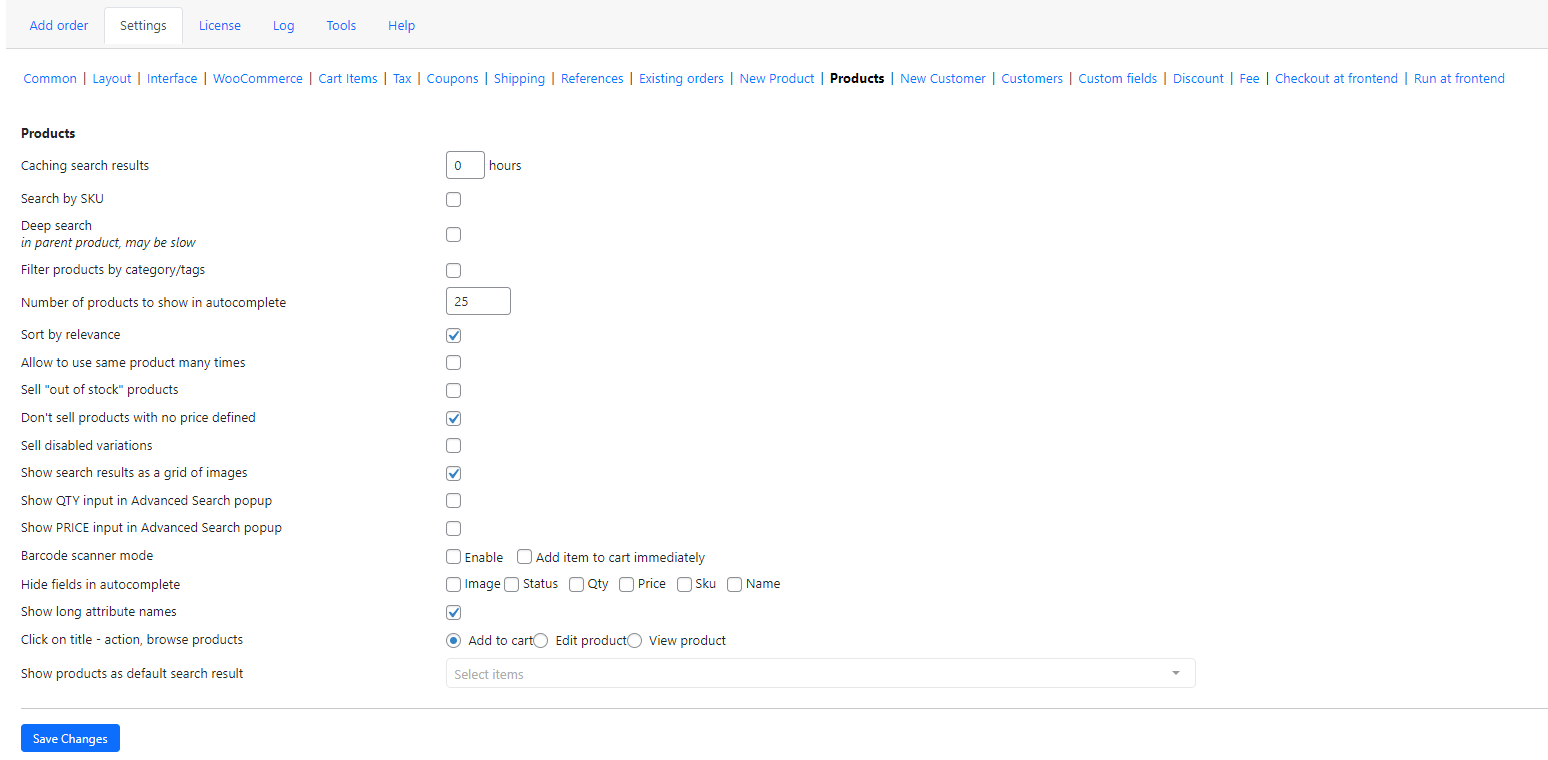
Tick the “Sell “out of stock” product” option to allow selling the products that currently are out of stock.

Tick the “Don’t sell products with no price defined” option if you wish to omit products without a specified price from search and order results.

Tick the “Sell disabled variation” option to allow selling the disabled variations.
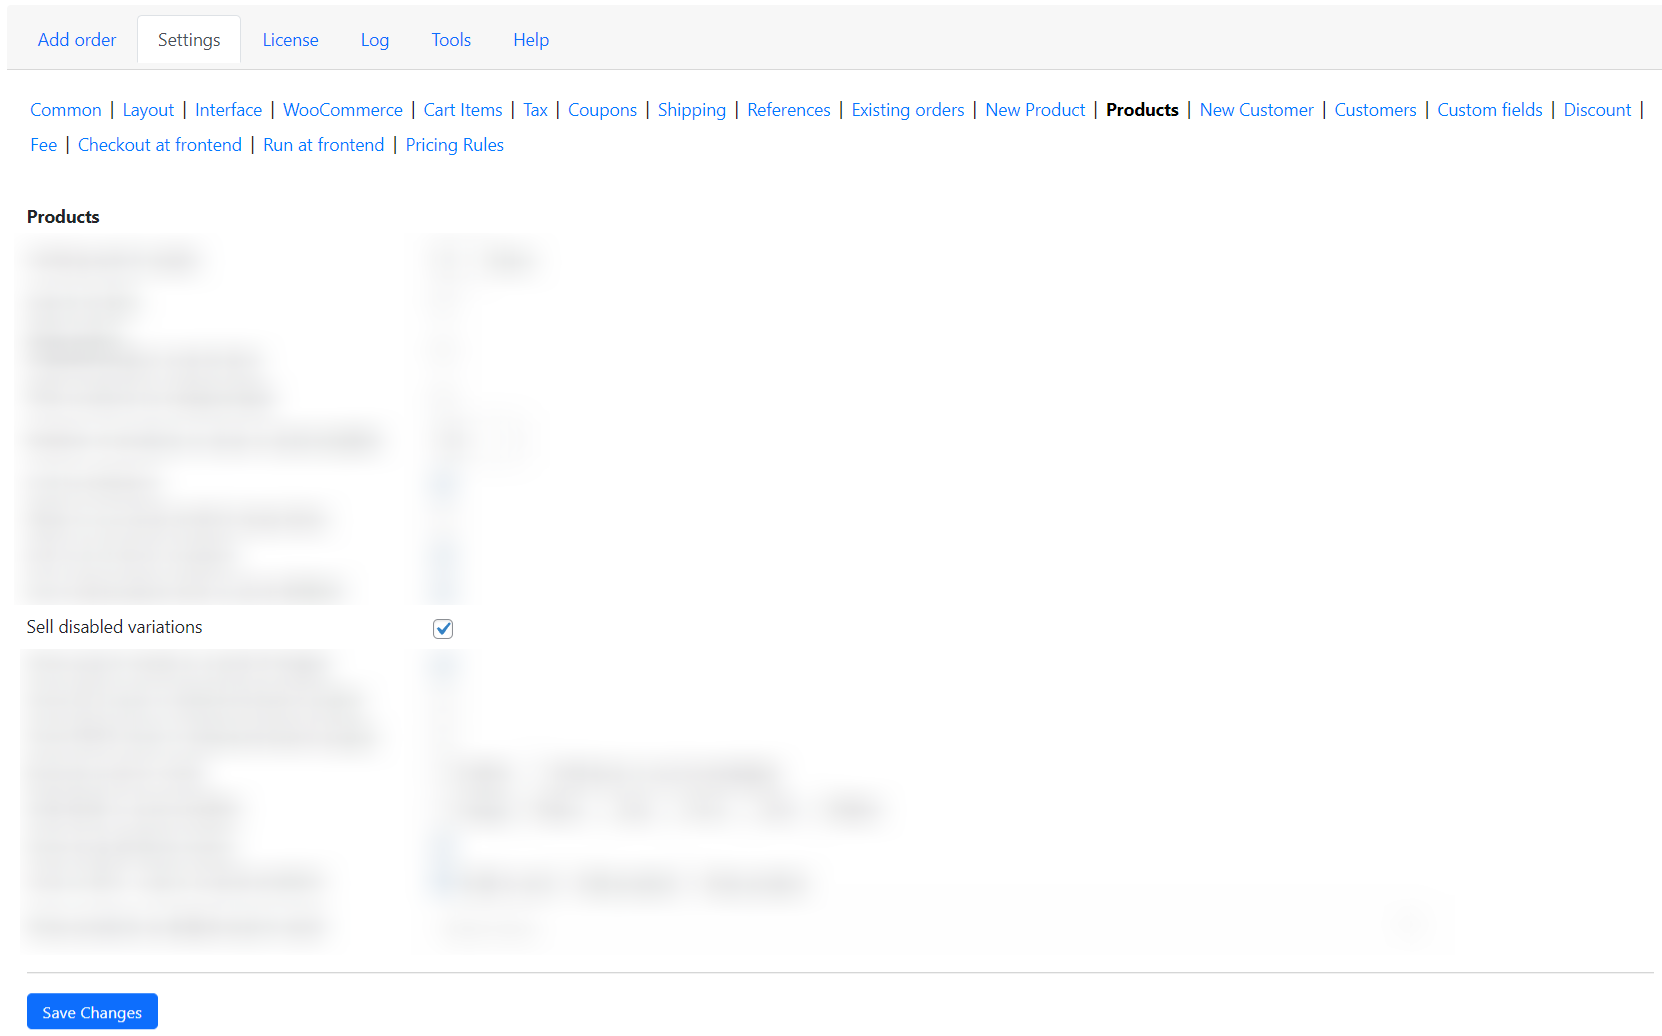
Now, even if the product is out of stock, it can be sold.

How to use feature “Pay order as customer”
Click on the tab “Settings” and choose the ”Layout” link. You will see this panel.
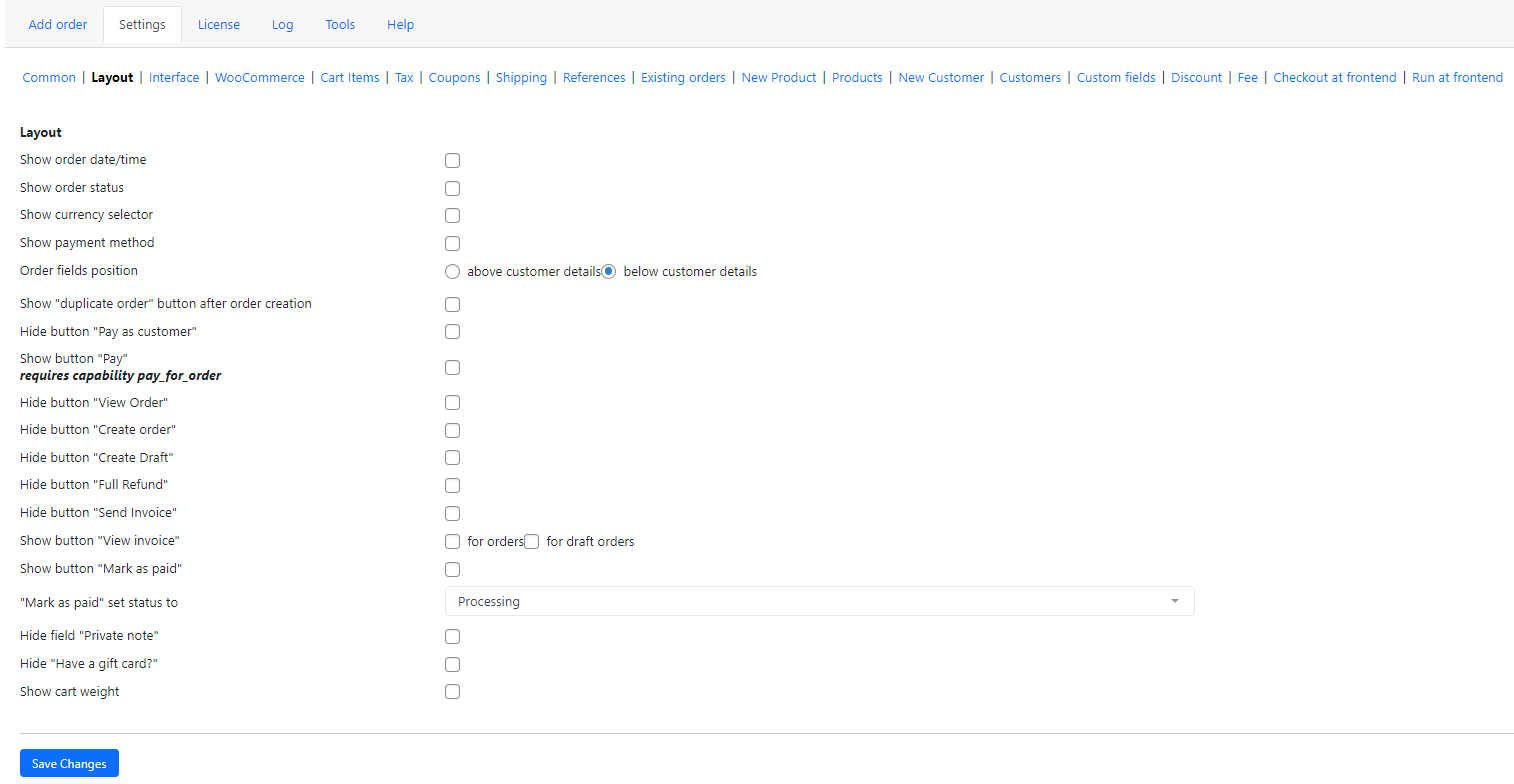
Make sure the checkbox is disabled.

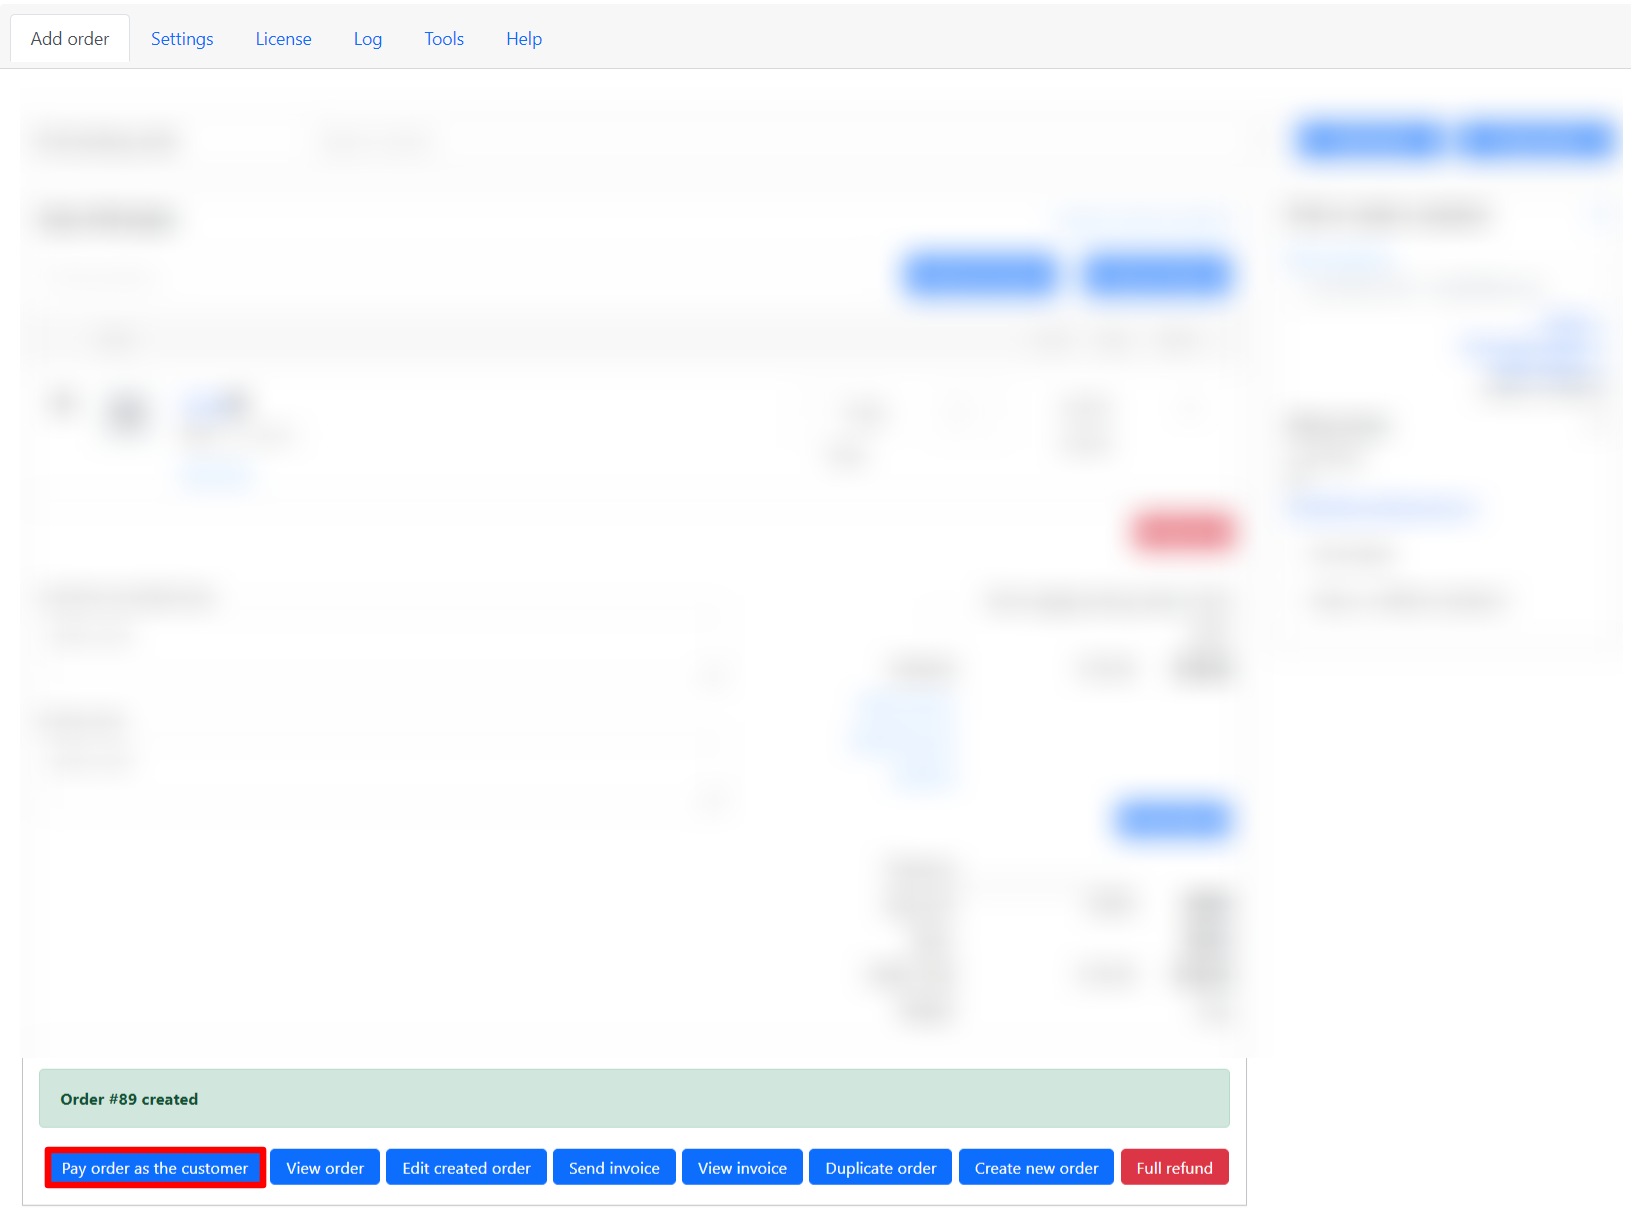
The order of using the “Pay order as customer” function:
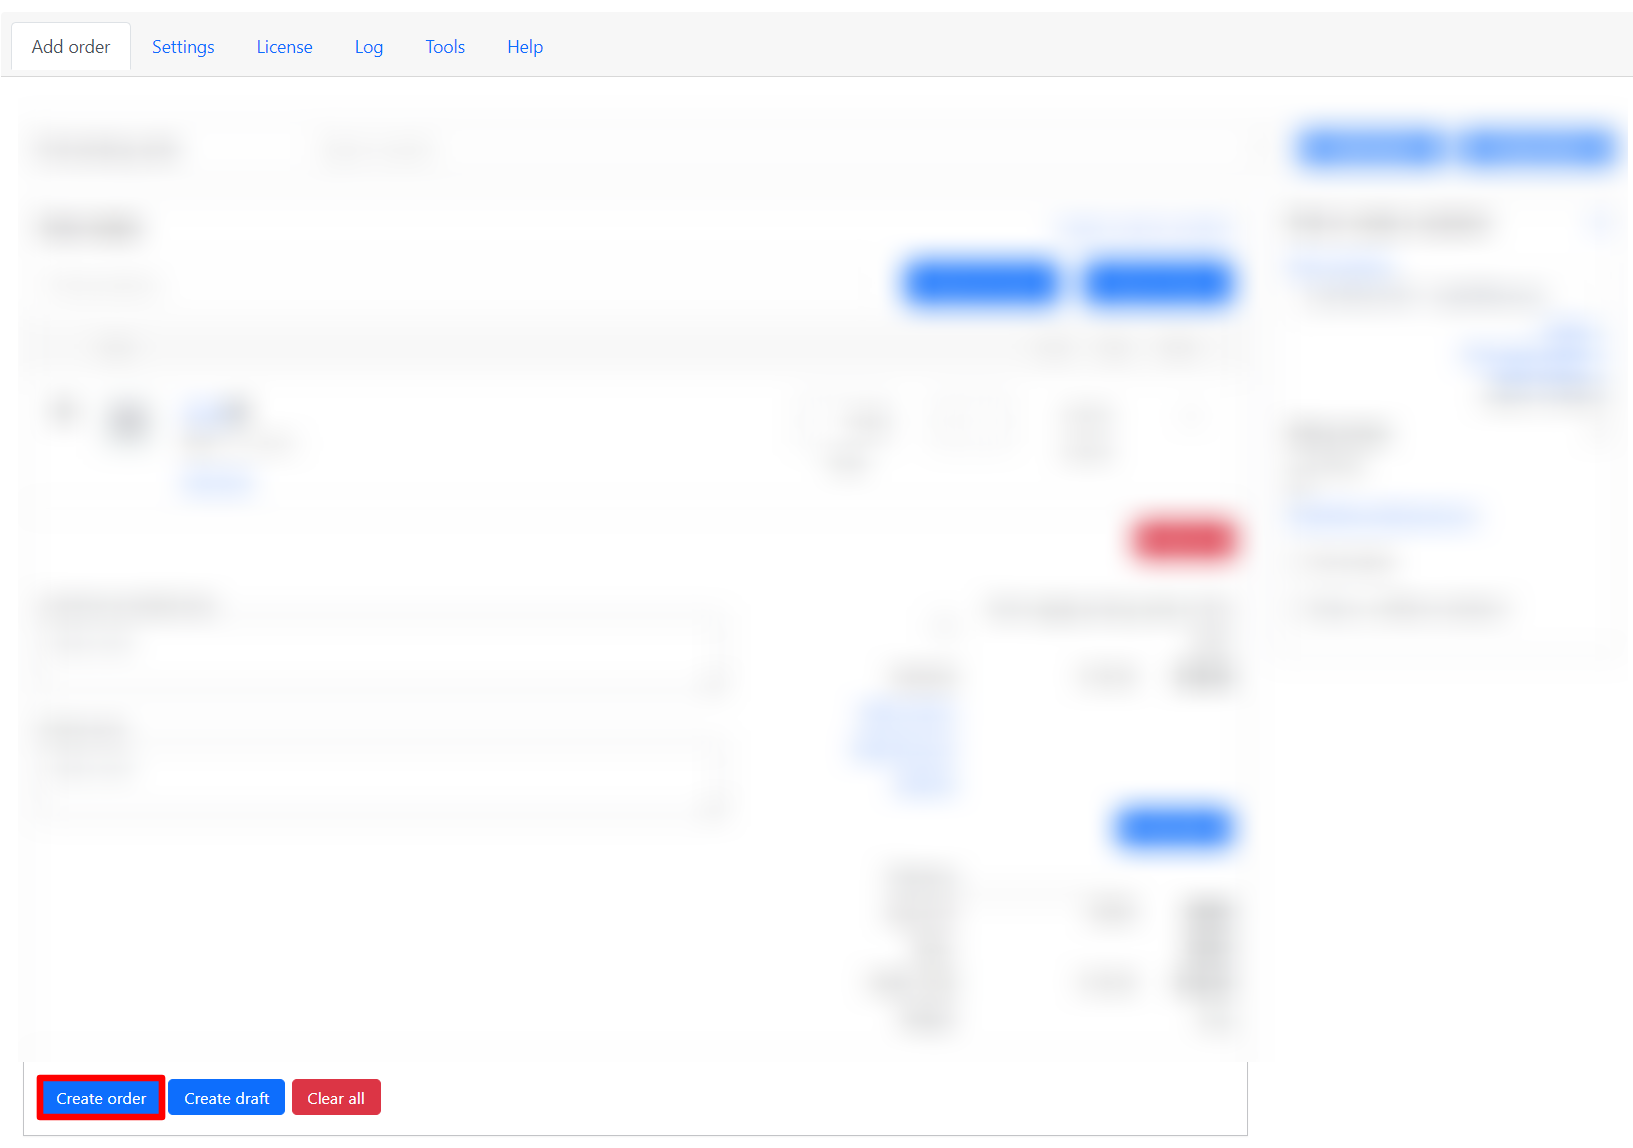
- Fill in the order details and customer details. Click on the “Create order” button.
- The button “Pay order as the customer” is shown now. Click on it to continue the payment.
- You will see the customer payment page. Choose a payment method and click on the “Pay for order” button.

- If the payment was successfully paid, you see the following message.
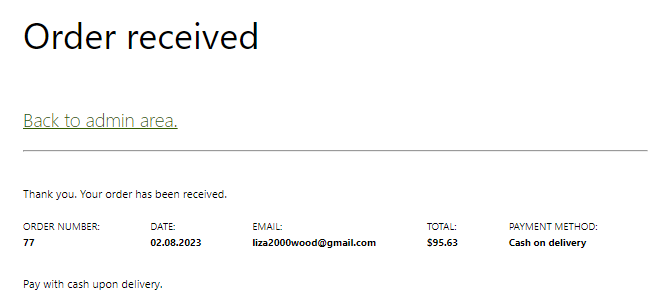
Note: To return to the admin panel, click on the “Back to admin area” link.
How to send invoice to the customer
Click on the “Settings” tab and choose the ”Layout” link. You will see this panel.
Make sure the checkbox is disabled.
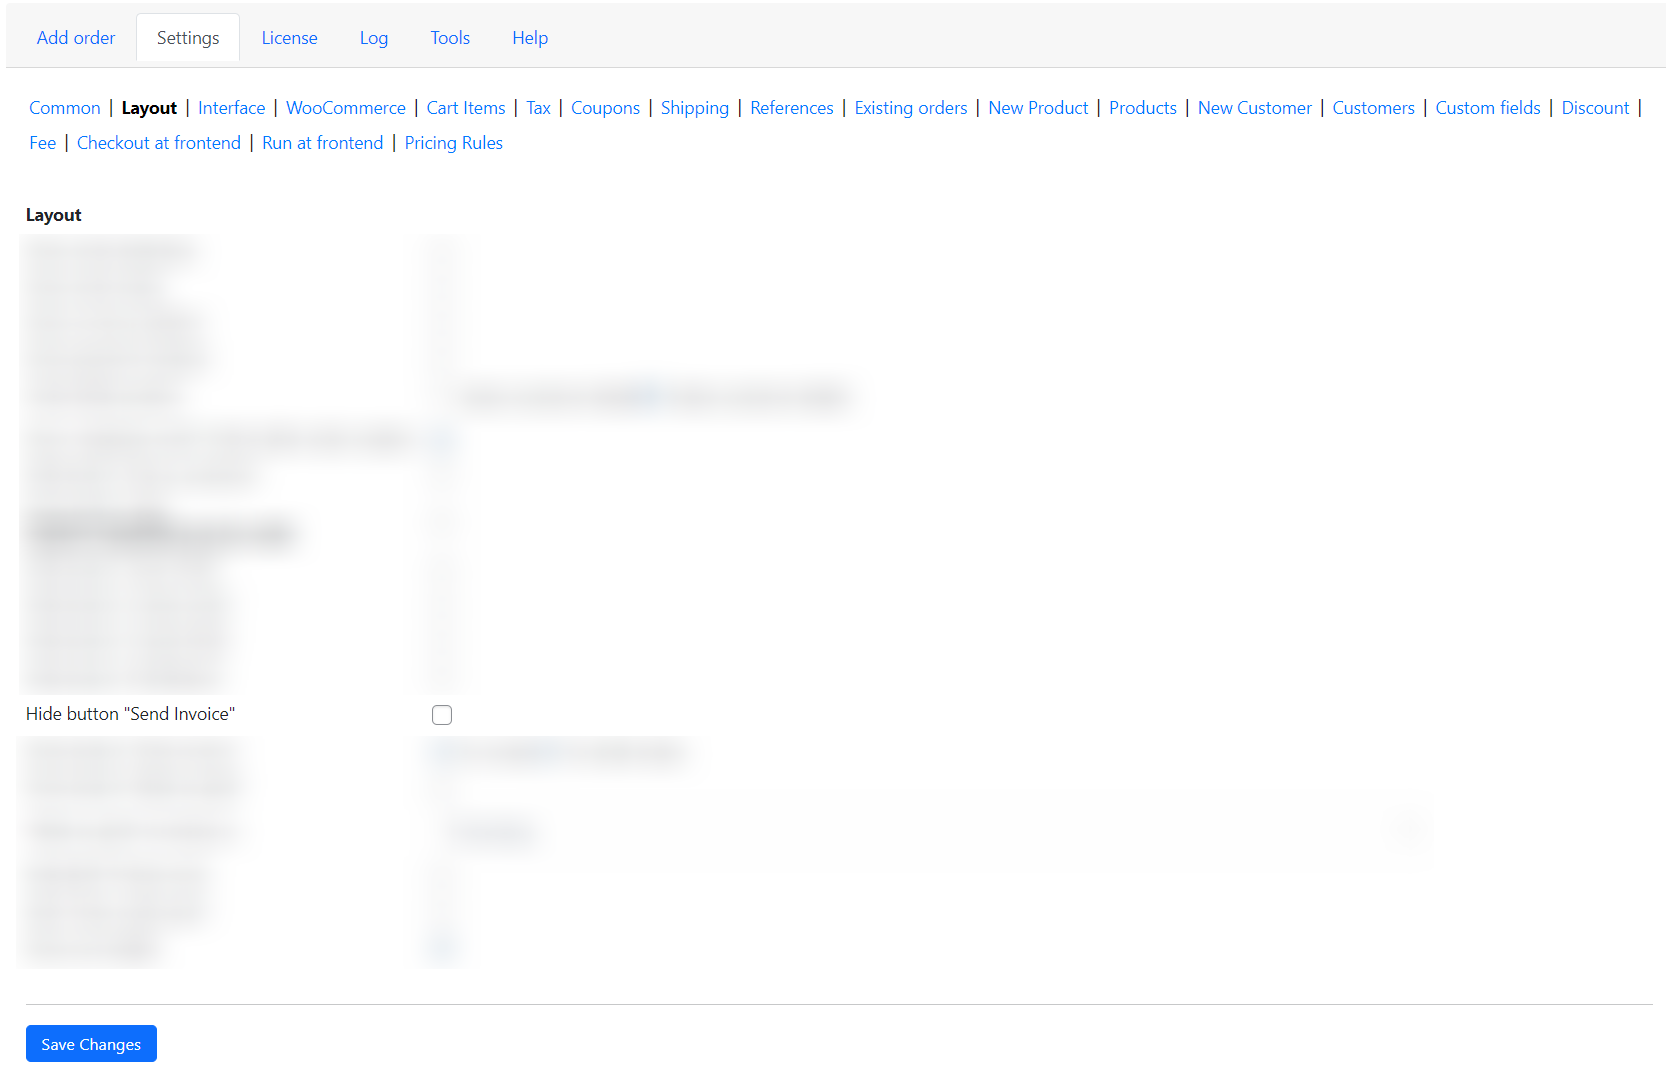
You can also tick the “View invoice for orders” and “View invoice for draft orders” checkboxes to see what the invoice will look like.

Now, after clicking on the “Create order” button, you can both send an invoice and view it.


How to add additional blocks to the interface
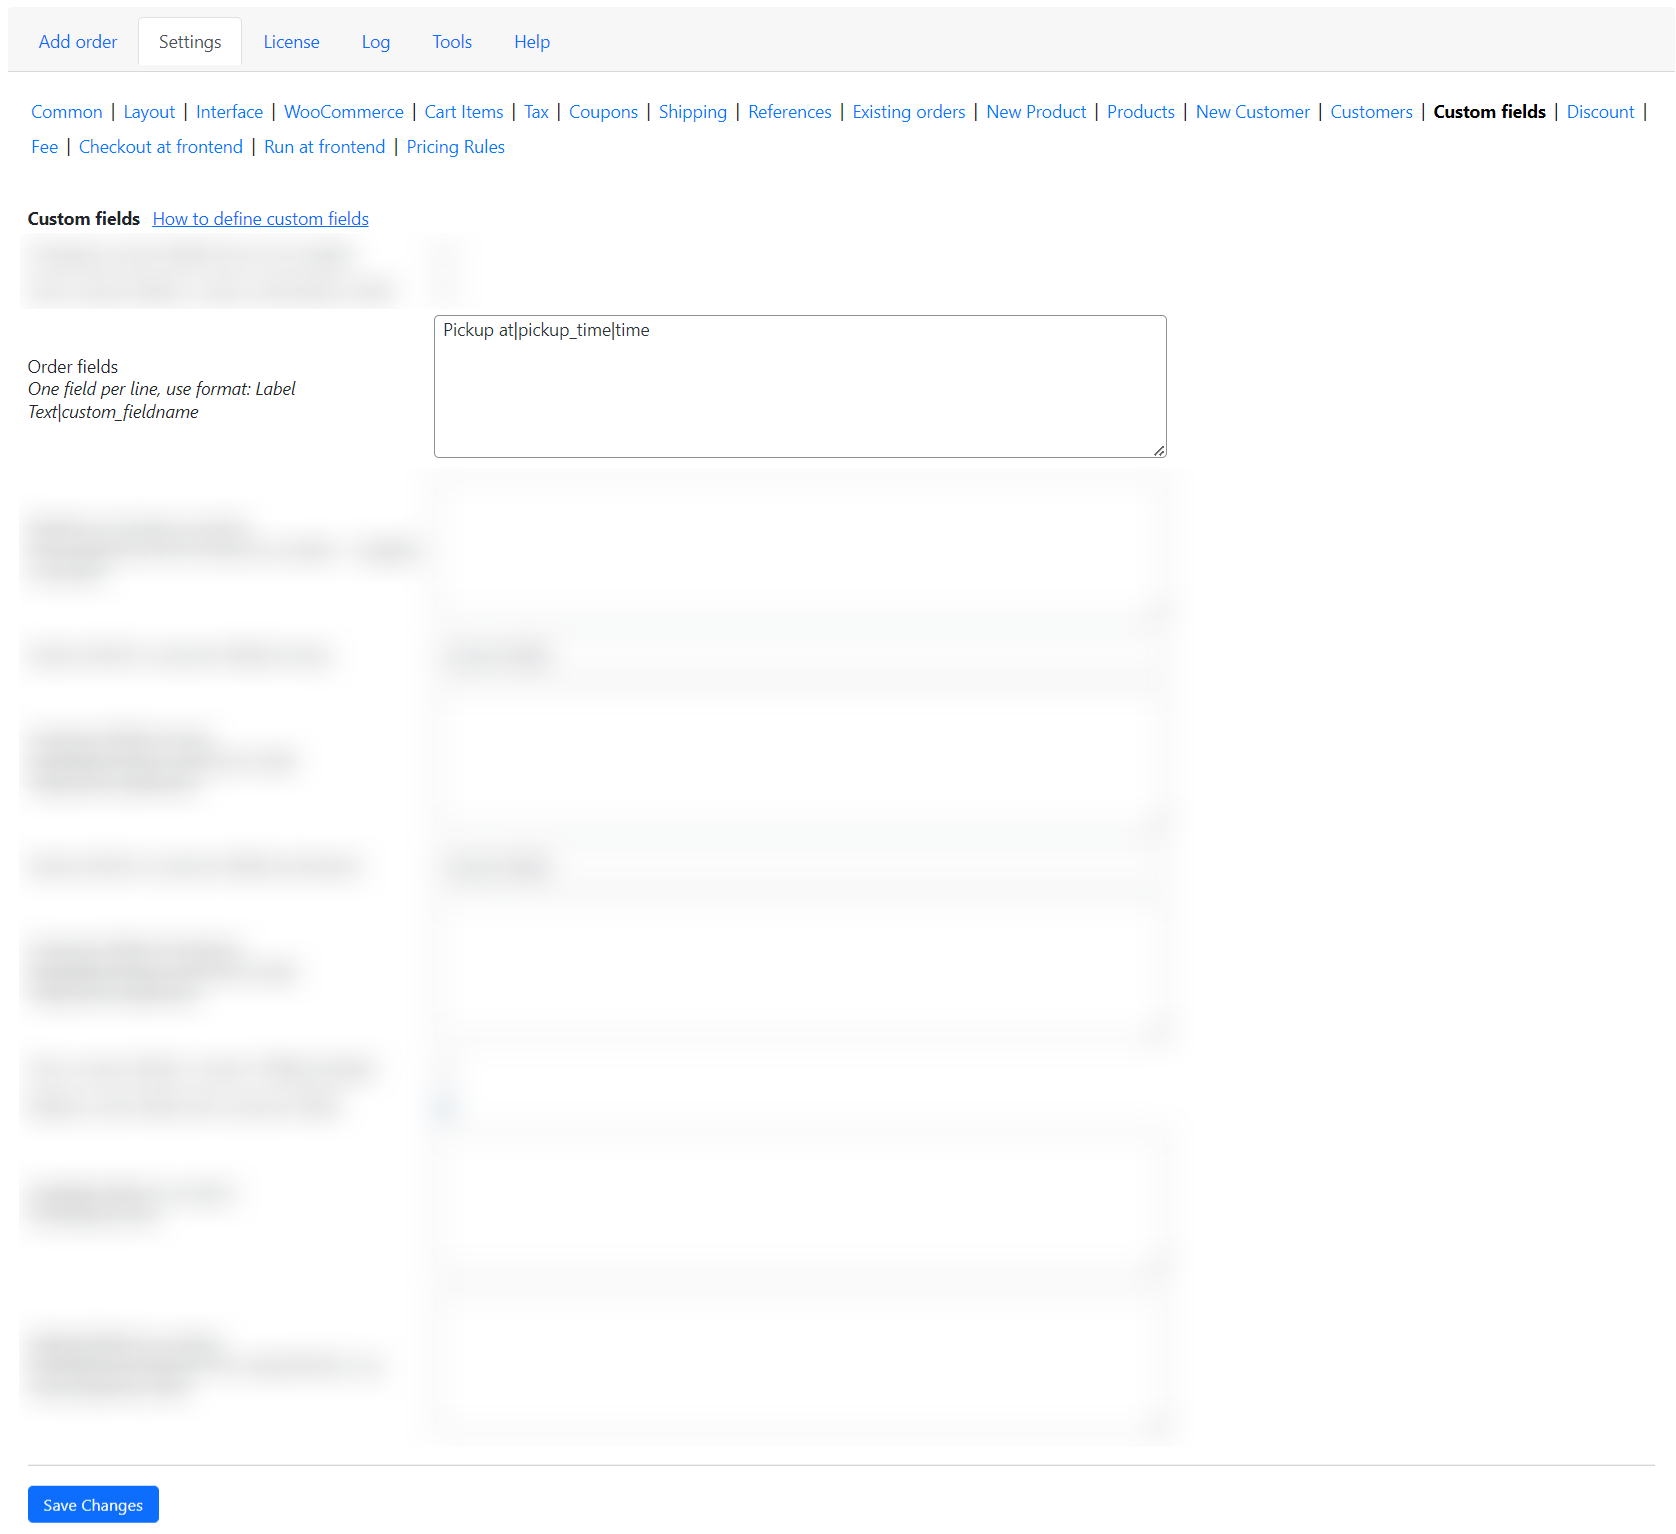
Click on the “Settings” tab and choose the ”Custom fields” link. You will see this panel.
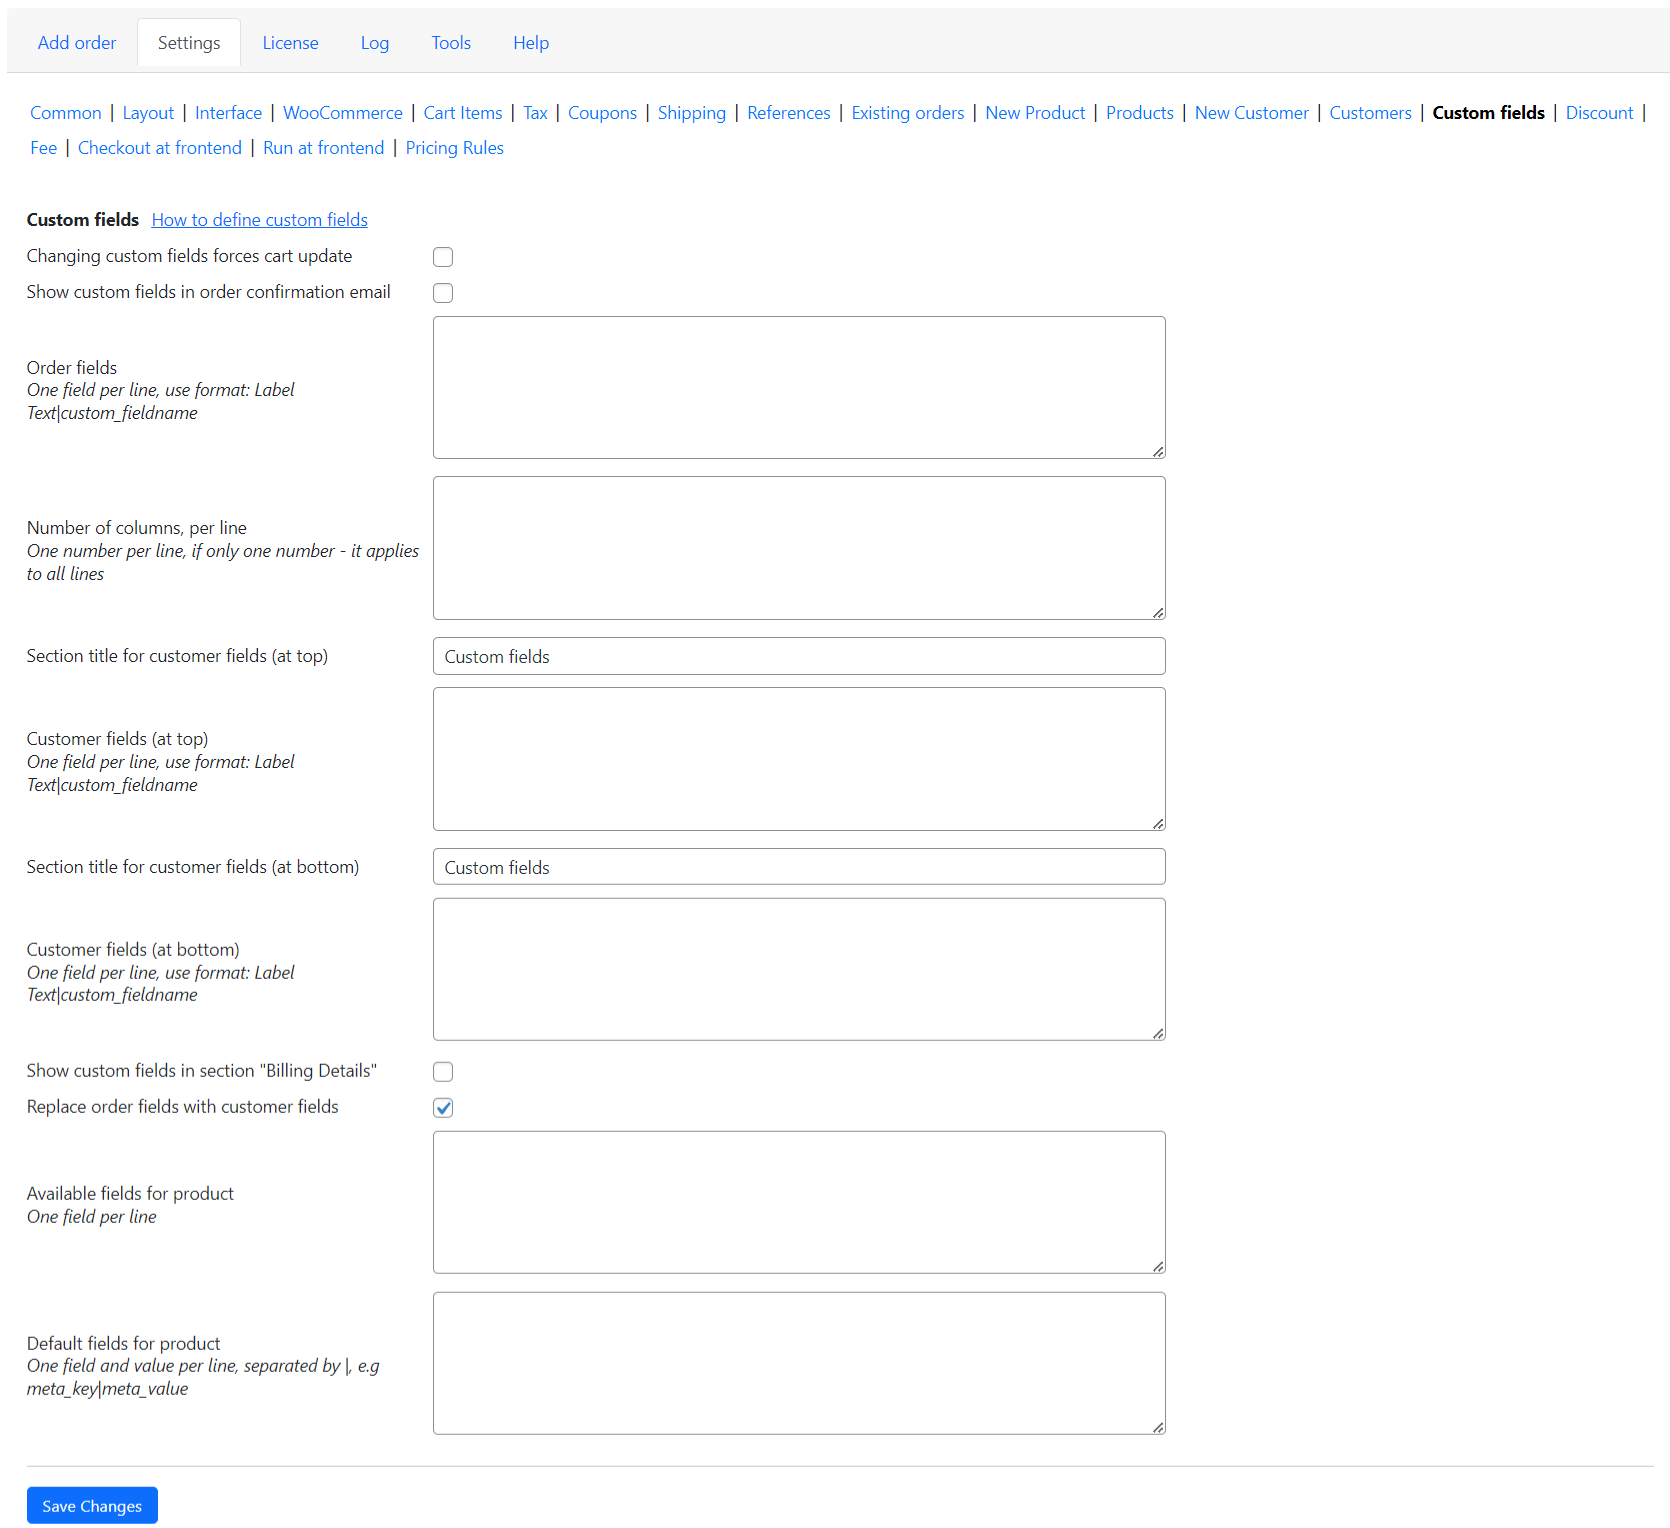
There is advice in the settings on how to create a custom field. Use the following format:
Label Text|custom_fieldname
For example, let’s create a new line “Pickup at” in the “Order fields” block using the following code:
Pickup at|pickup_time|time
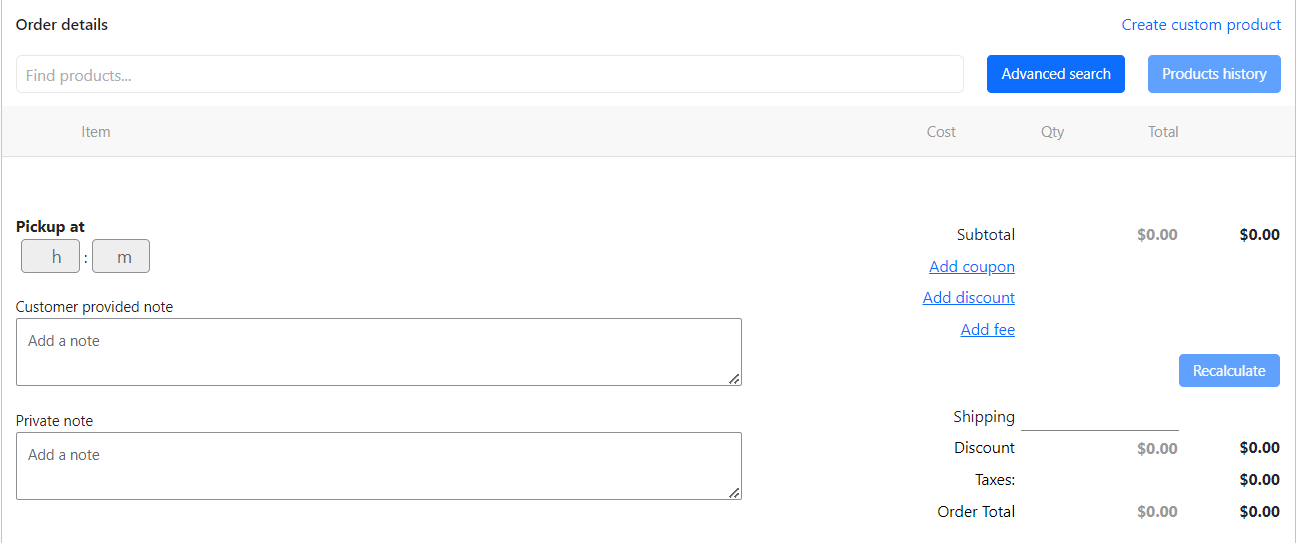
You will find the new field in “Order details” on the “Add order” page.
Conclusion on how to set up Phone Orders for WooCommerce (Pro)
This article shows only a small part of all the possibilities of using Phone Orders for WooCommerce. I am planning on writing more articles about the plugin and the features that make it easier to work with it. Keep an eye out for them!